Project Management

Learn about the basics of project management in MediaFerry. You'll get details about how to create a new project, edit an existing project and other basic instructions for project management.

To get started, select the option from the list below:

Create, edit or share a project

How to create a new project in MediaFerry?

  1. Go to your MediaFerry URL and login with your login credentials.
  2. From the MediaFerry page menu, click Create new project button on the top left.
  3. A project brief form will open. To create a new project enter required fields (such as project name, project type, due date, upload assets, brief or general instructions) and click submit.
  4. On submission, you will receive a success message on the MediaFerry screen along with a system generated email notification on your registered email address.

Another way of Project Creation

Users can auto-create projects in MediaFerry through their preferred Booking System as MediaFerry easily gets integrated with other systems. After integrating your system (billing or project management) with MediaFerry, if a project is created in that system then it will automatically get created in MediaFerry via API.

How to edit an existing project?

  1. From the MediaFerry page menu, select Active Projects list.
  2. The list of active projects will open. Now, filter the project you want to edit by entering project details in the project Filters form, at the left section of the screen.
  3. The entered project will open with editing options highlighted as Change Status, Upload Assets, Send Query, Mark Comment, Share Project, etc., next to the project name. You could proceed with your required action by a click on the highlighted text button!

How to share project with other MediaFerry users?

  1. Go to SHARE button highlighted next to the project name.
  2. A pop-up will open. Enter MediaFerry user email address/addresses you want to share your project within this Enter Email Address box and click share. The project will get shared with the entered users!

Track project status and mark comments

How to check project status in MediaFerry?

  1. On MediaFerry menu page, go to Active projects button.
  2. Enter the project details in the project Filters form to filter project, and select filter to proceed.
  3. The project will appear with its current status mentioned right below the project name.

How to change project status in MediaFerry?

  1. Once you filter the project, click Change Status button highlighted next to the project name.
  2. A pop-up will open with the drop-down list (Amends, Approved, Archive, Assigned, In Production, Killed, New Request, Ready to Review). Select the status from the drop-down list, and click Save to change project status.
OR
  1. On your Active Projects list, select View or Edit button.
  2. The project View/Edit page will open. In the Project Status field, select the status from the drop-down list, and click Save Changes to save the changes.
Note: Users can enable auto-configuration function in MediaFerry system to get their project statuses change automatically according to their work-in-progress status.

How to post a comment in a project?

  1. Once you have filtered the project, you could see a COMMENT button highlighted next to the project name. Click on that button.
  2. On click on COMMENT button, the Activity Feed page will appear. Write your Comment in text description box as highlighted below and click green check to save the comment. Your comment will get marked!

How to upload assets in MediaFerry?

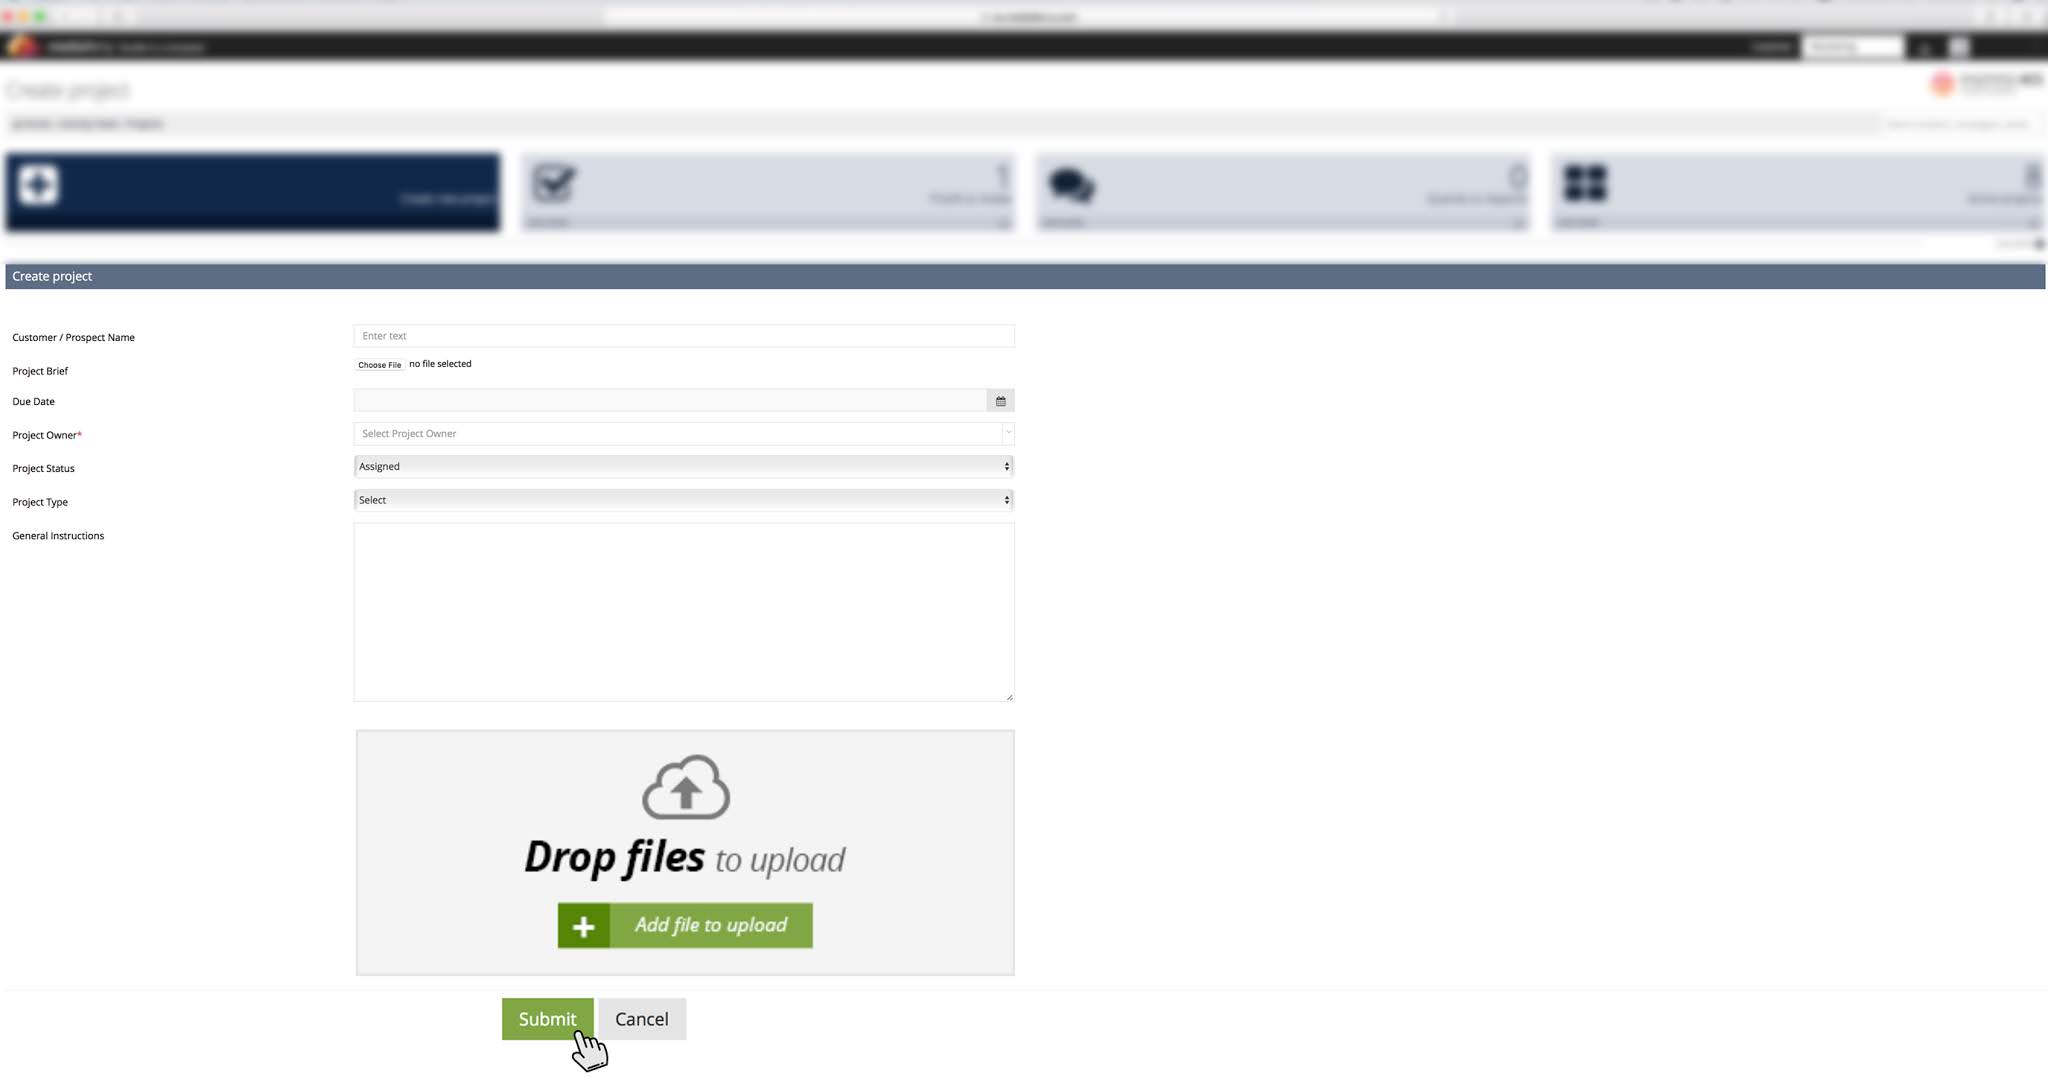
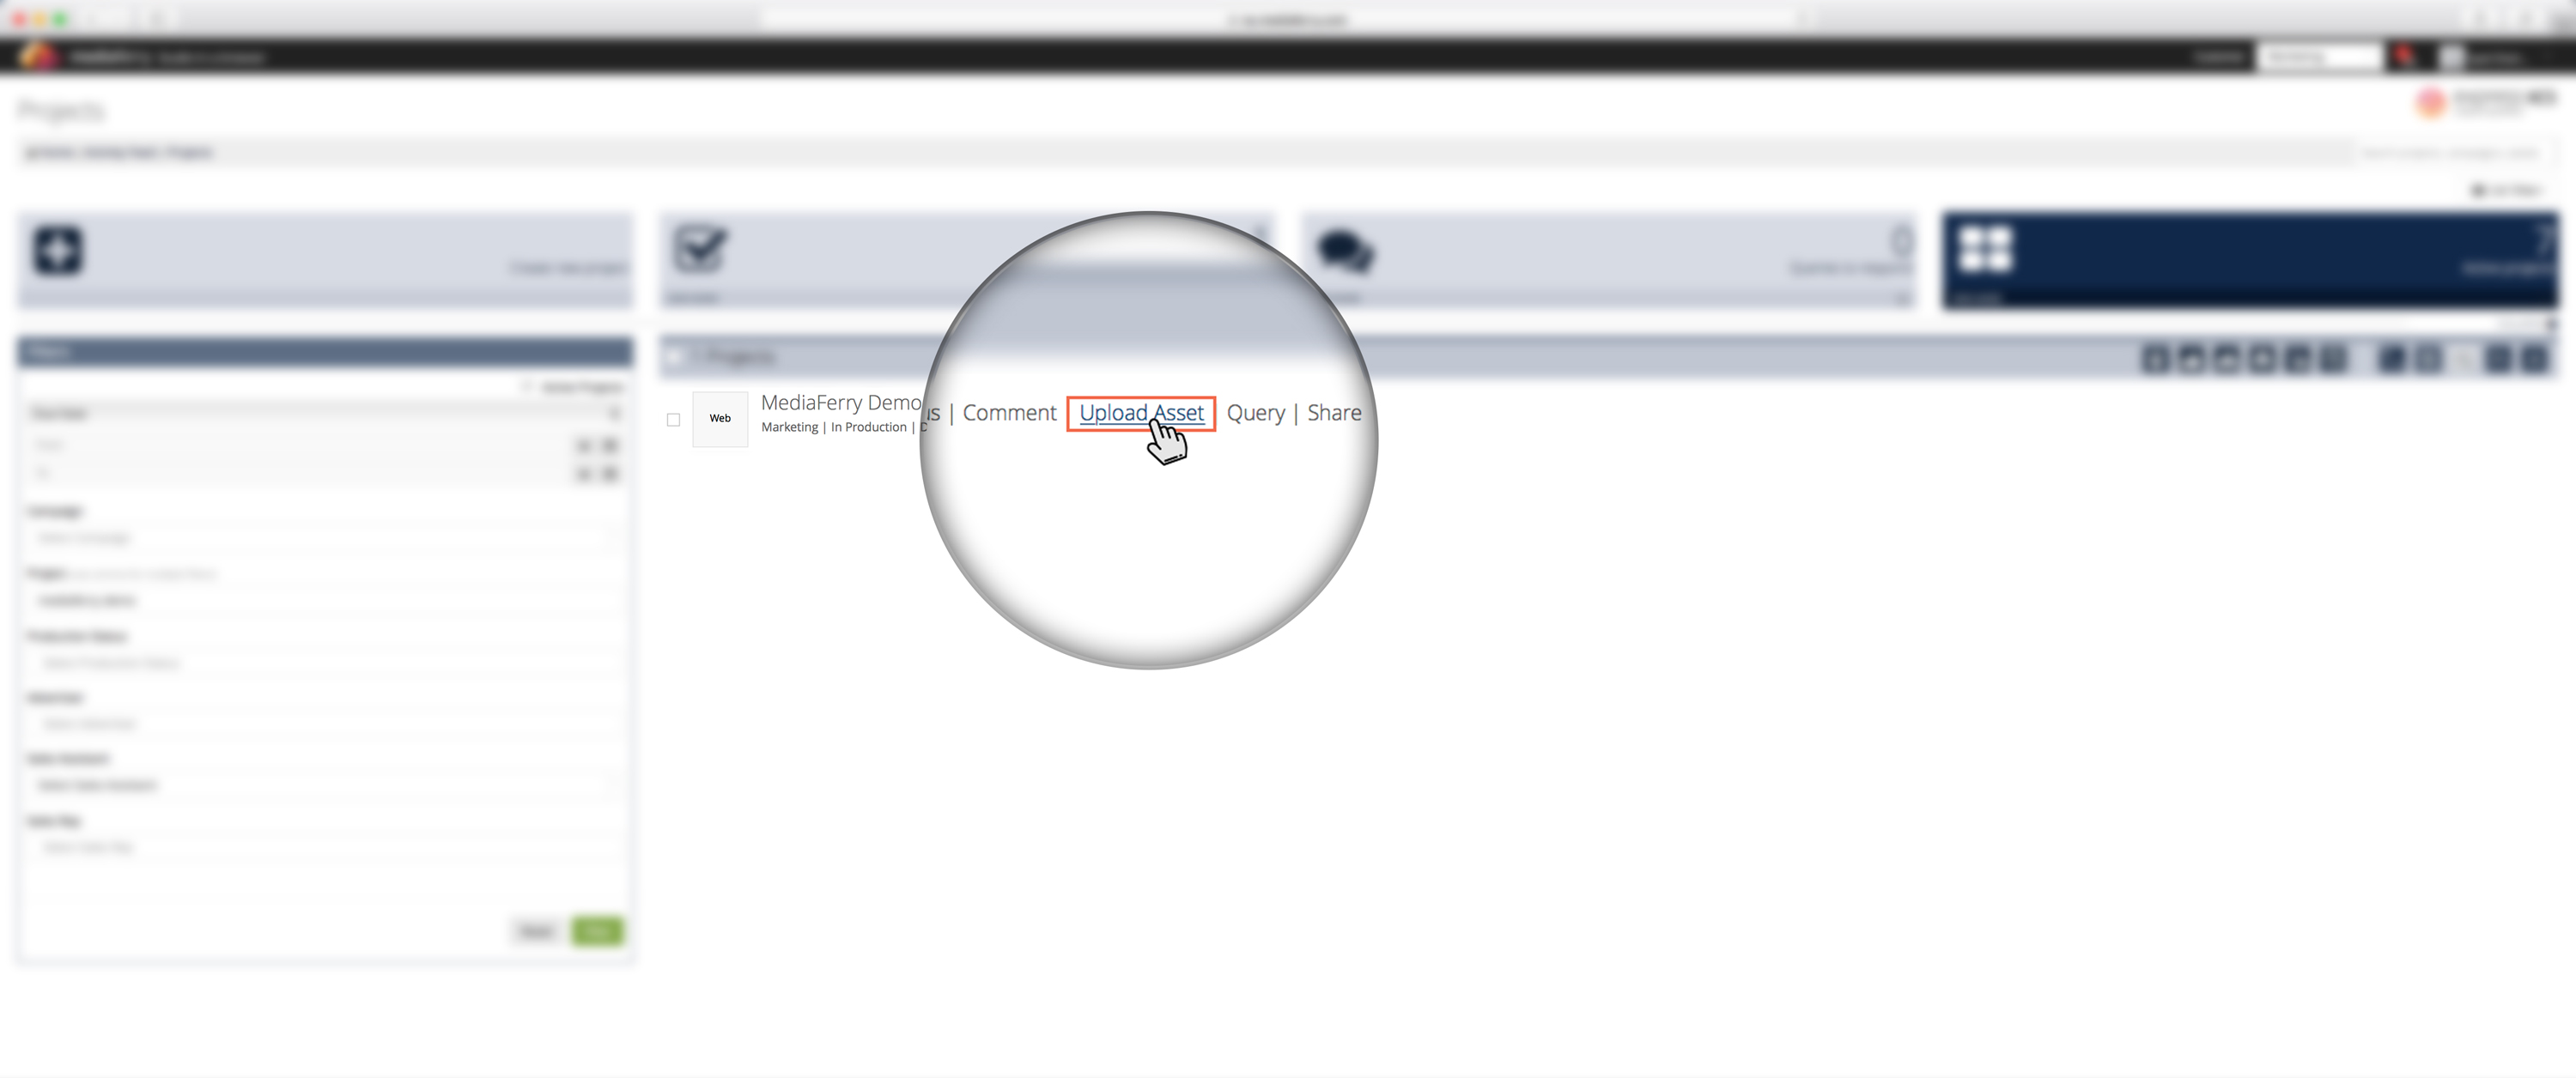
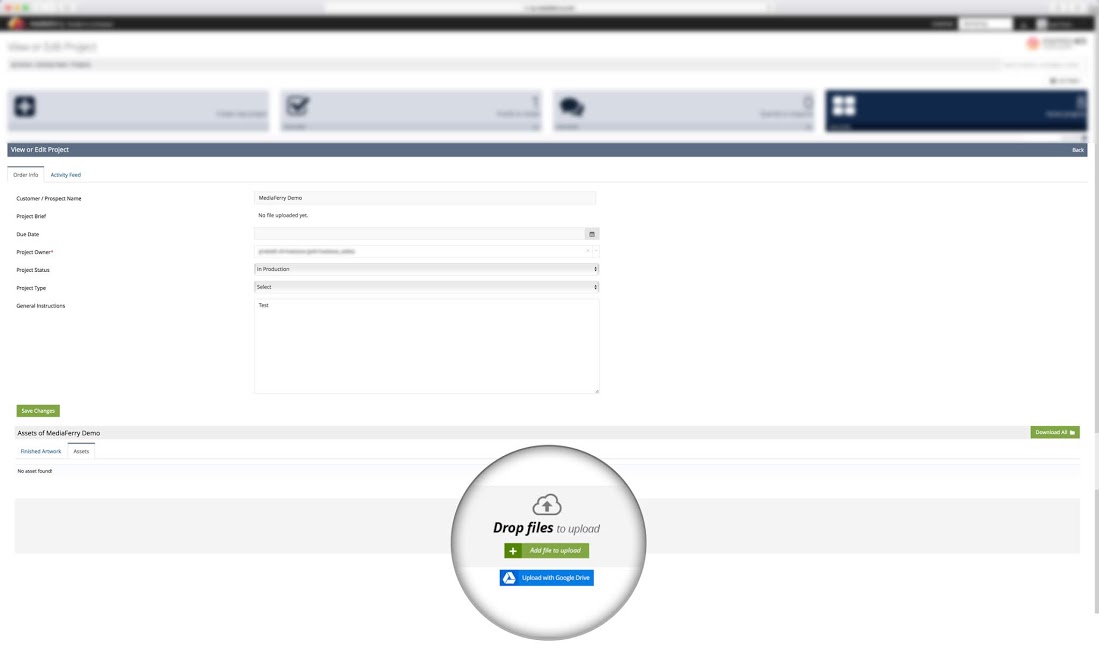
There are three different ways to upload assets in MediaFerry. You can upload assets at the time of project creation, otherwise, upload using these simple steps

  1. Click Upload Asset button, highlighted next to the project name.
  2. An Assets of MediaFerry form will open, click Add file to upload icon to select assets you want to upload.
  3. Once you are done with the selection, click Open to upload the selected assets.
OR
  1. After you filter the project, click view/edit button. The button will redirect to Project View/Edit page.
  2. At the bottom of the page, you’ll find Add file to upload icon. Click on it to select asset/assets you need to upload.
  3. Once you are done with the selection, click Open to upload the selected assets.
Note: In case, you need to upload assets using Google Drive. In both the above-mentioned cases, click Upload with Google Drive icon and proceed with the uploading steps.

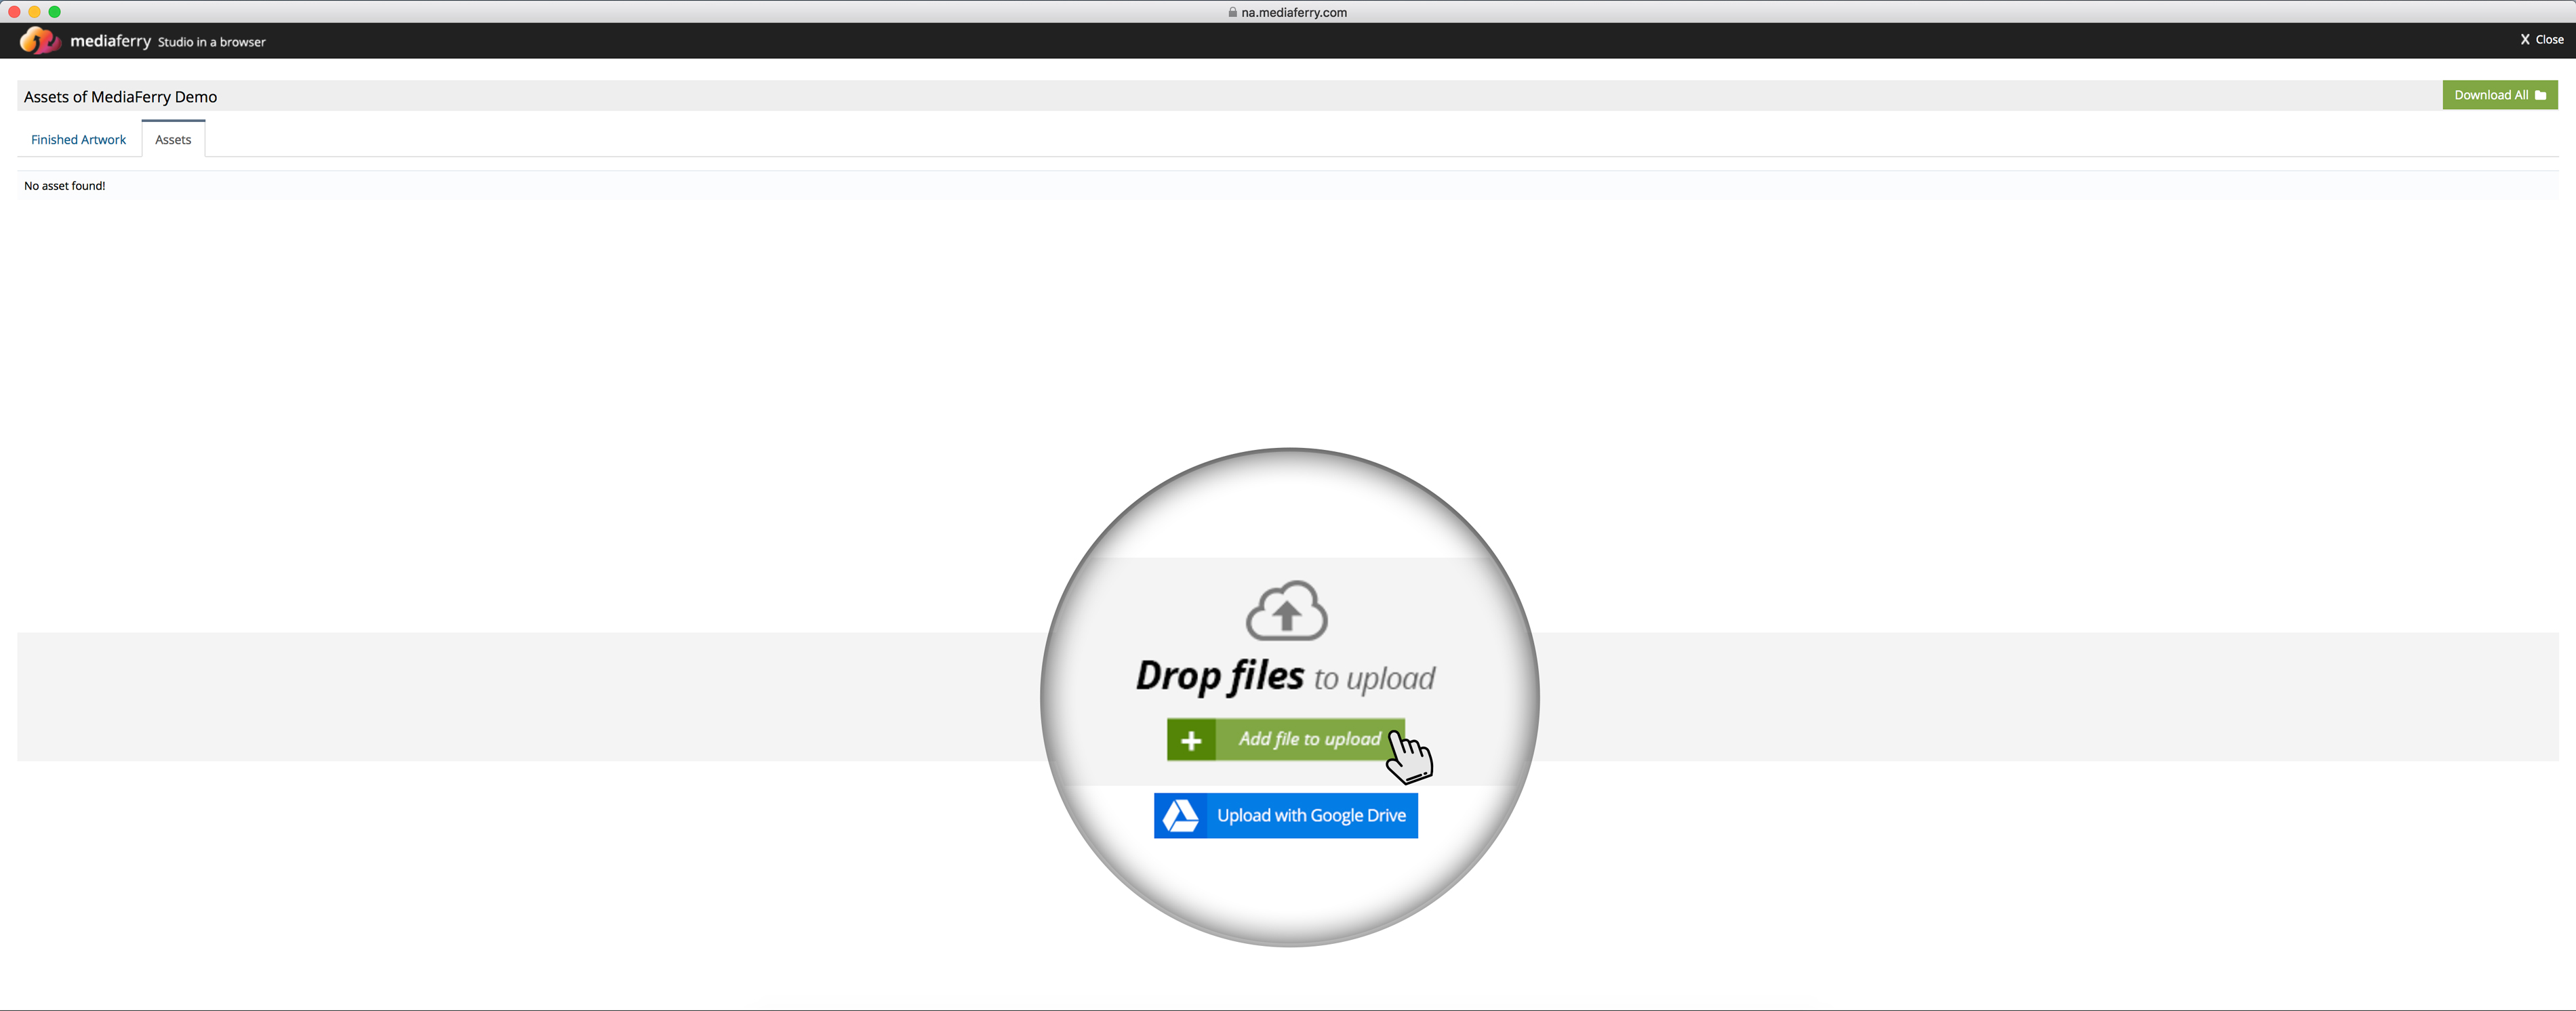
*On click, you will be asked to sign-in with your Google Account. Once you complete the sign-in process, your Google Drive will get connected with MediaFerry and you can easily upload assets by selecting multiple files from your Google Drive.
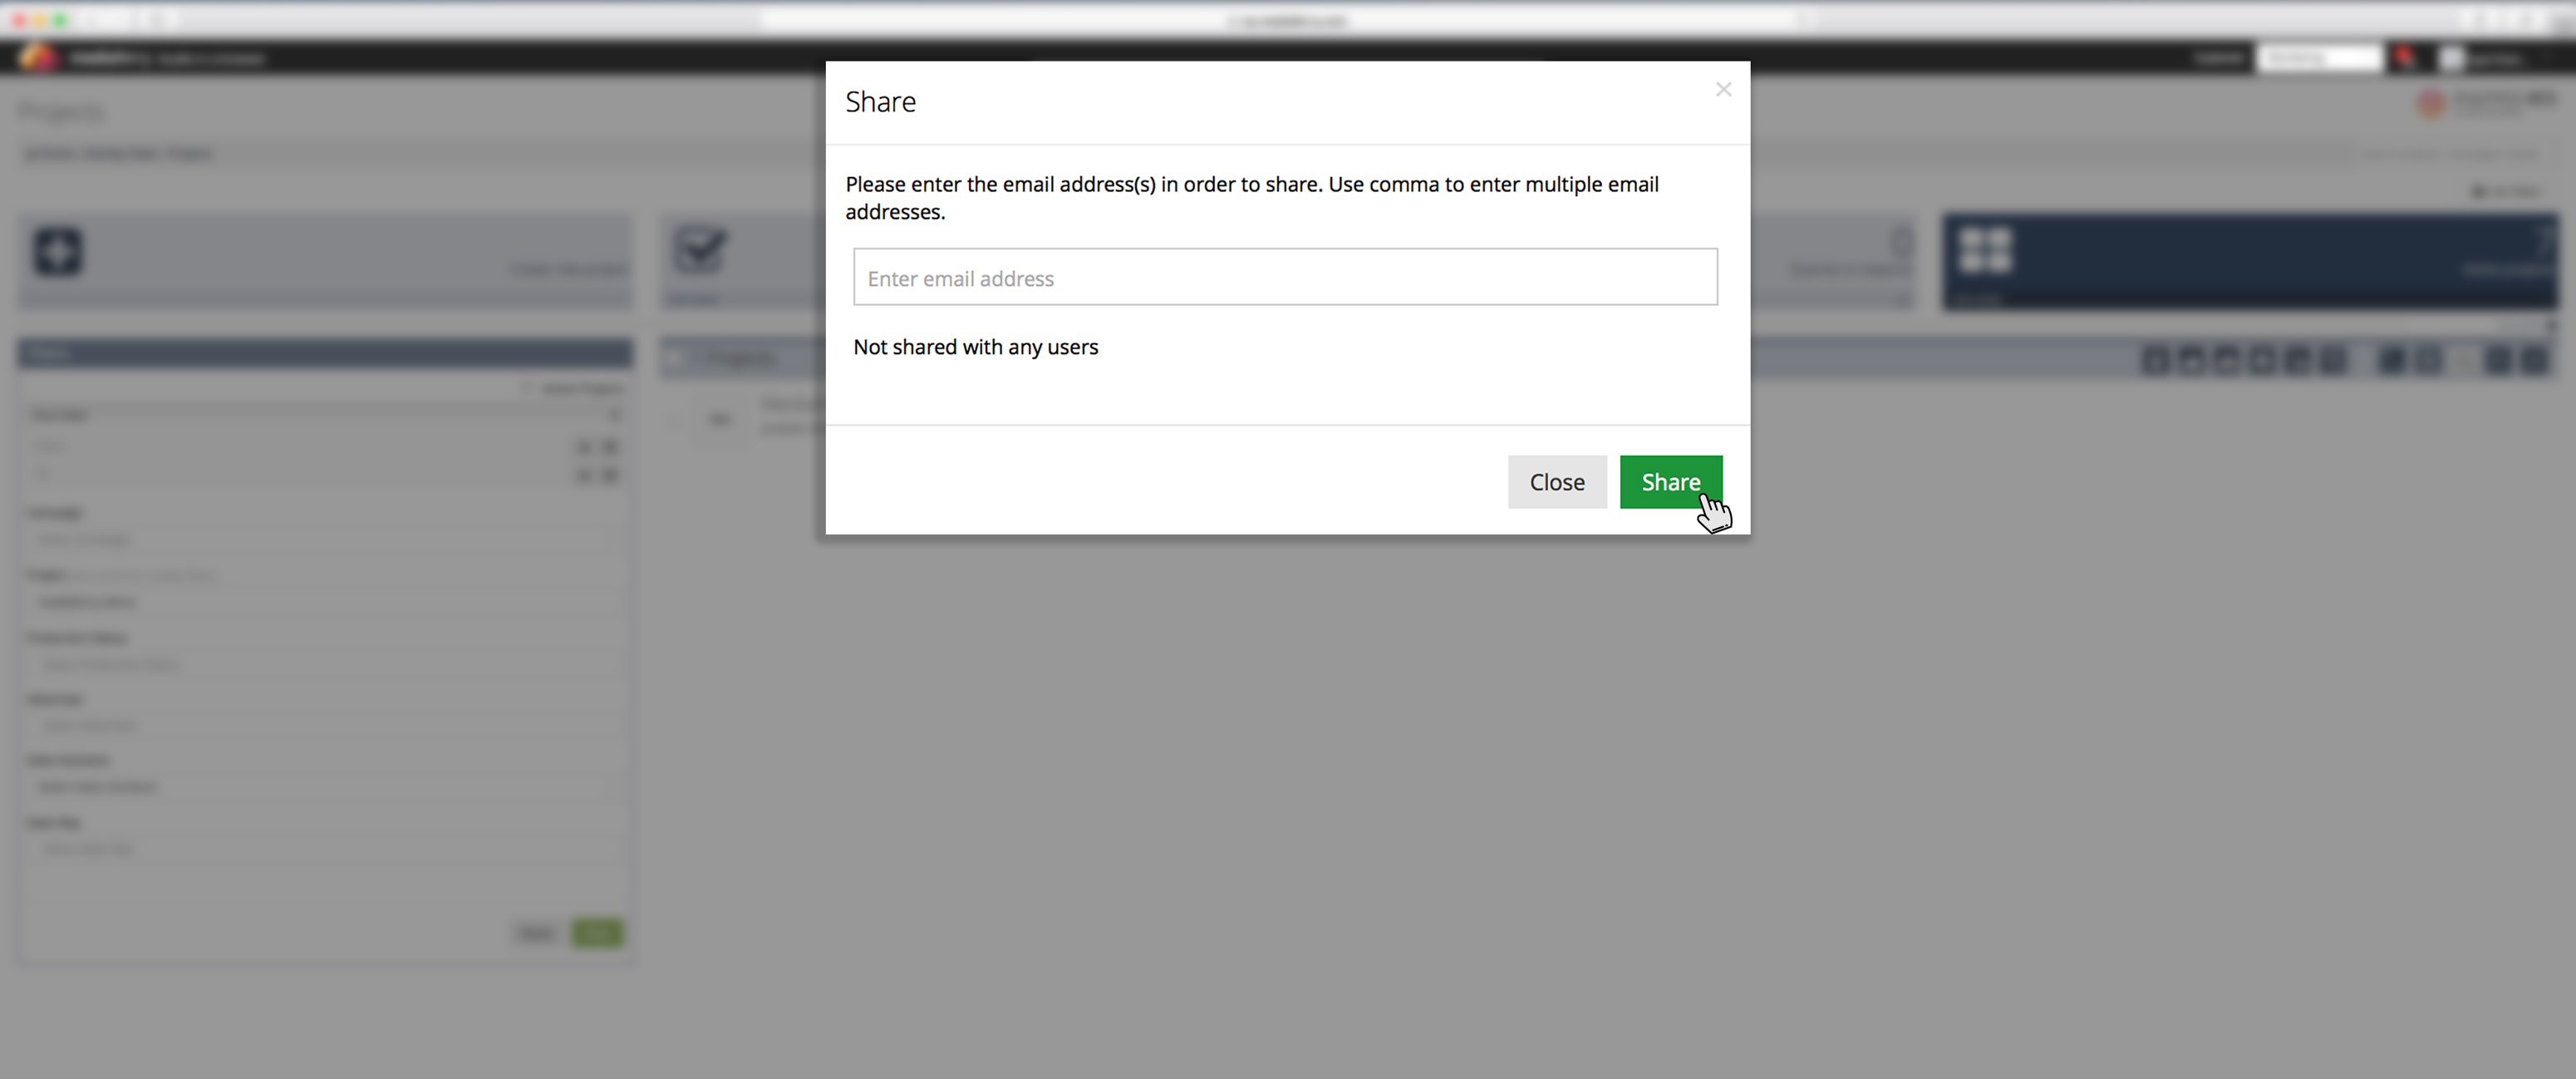
OR

Also, you can send assets in a MediaFerry Project via email. Here are the steps to be followed

  1. Open Gmail account in web browser
  2. Compose an email. Enter your MediaFerry user email address in To*
  3. Enter Project Name (eg. @test17072018V) in subject* line
  4. Type your remarks in the email body and attach assets to email
  5. After completing the above steps, click send
  6. Your assets will get uploaded in your MediaFerry Project through the auto spooler of email server to MediaFerry Job
Note: In case, Project Name does not exist then you will get an auto-generated email with the message ‘failed to upload’.

How to send a query for a project using MediaFerry?

  1. Go to QUERY button highlighted next to the project name.
  2. The query box will open. Write your query in the query box and click QUERY to get it saved.
  3. On click, your query will send to the other MediaFerry users working on that particular project.
Note: Once the query is submitted, a message will highlight “RESPOND TO QUERY” in bold red text in front of the project name.

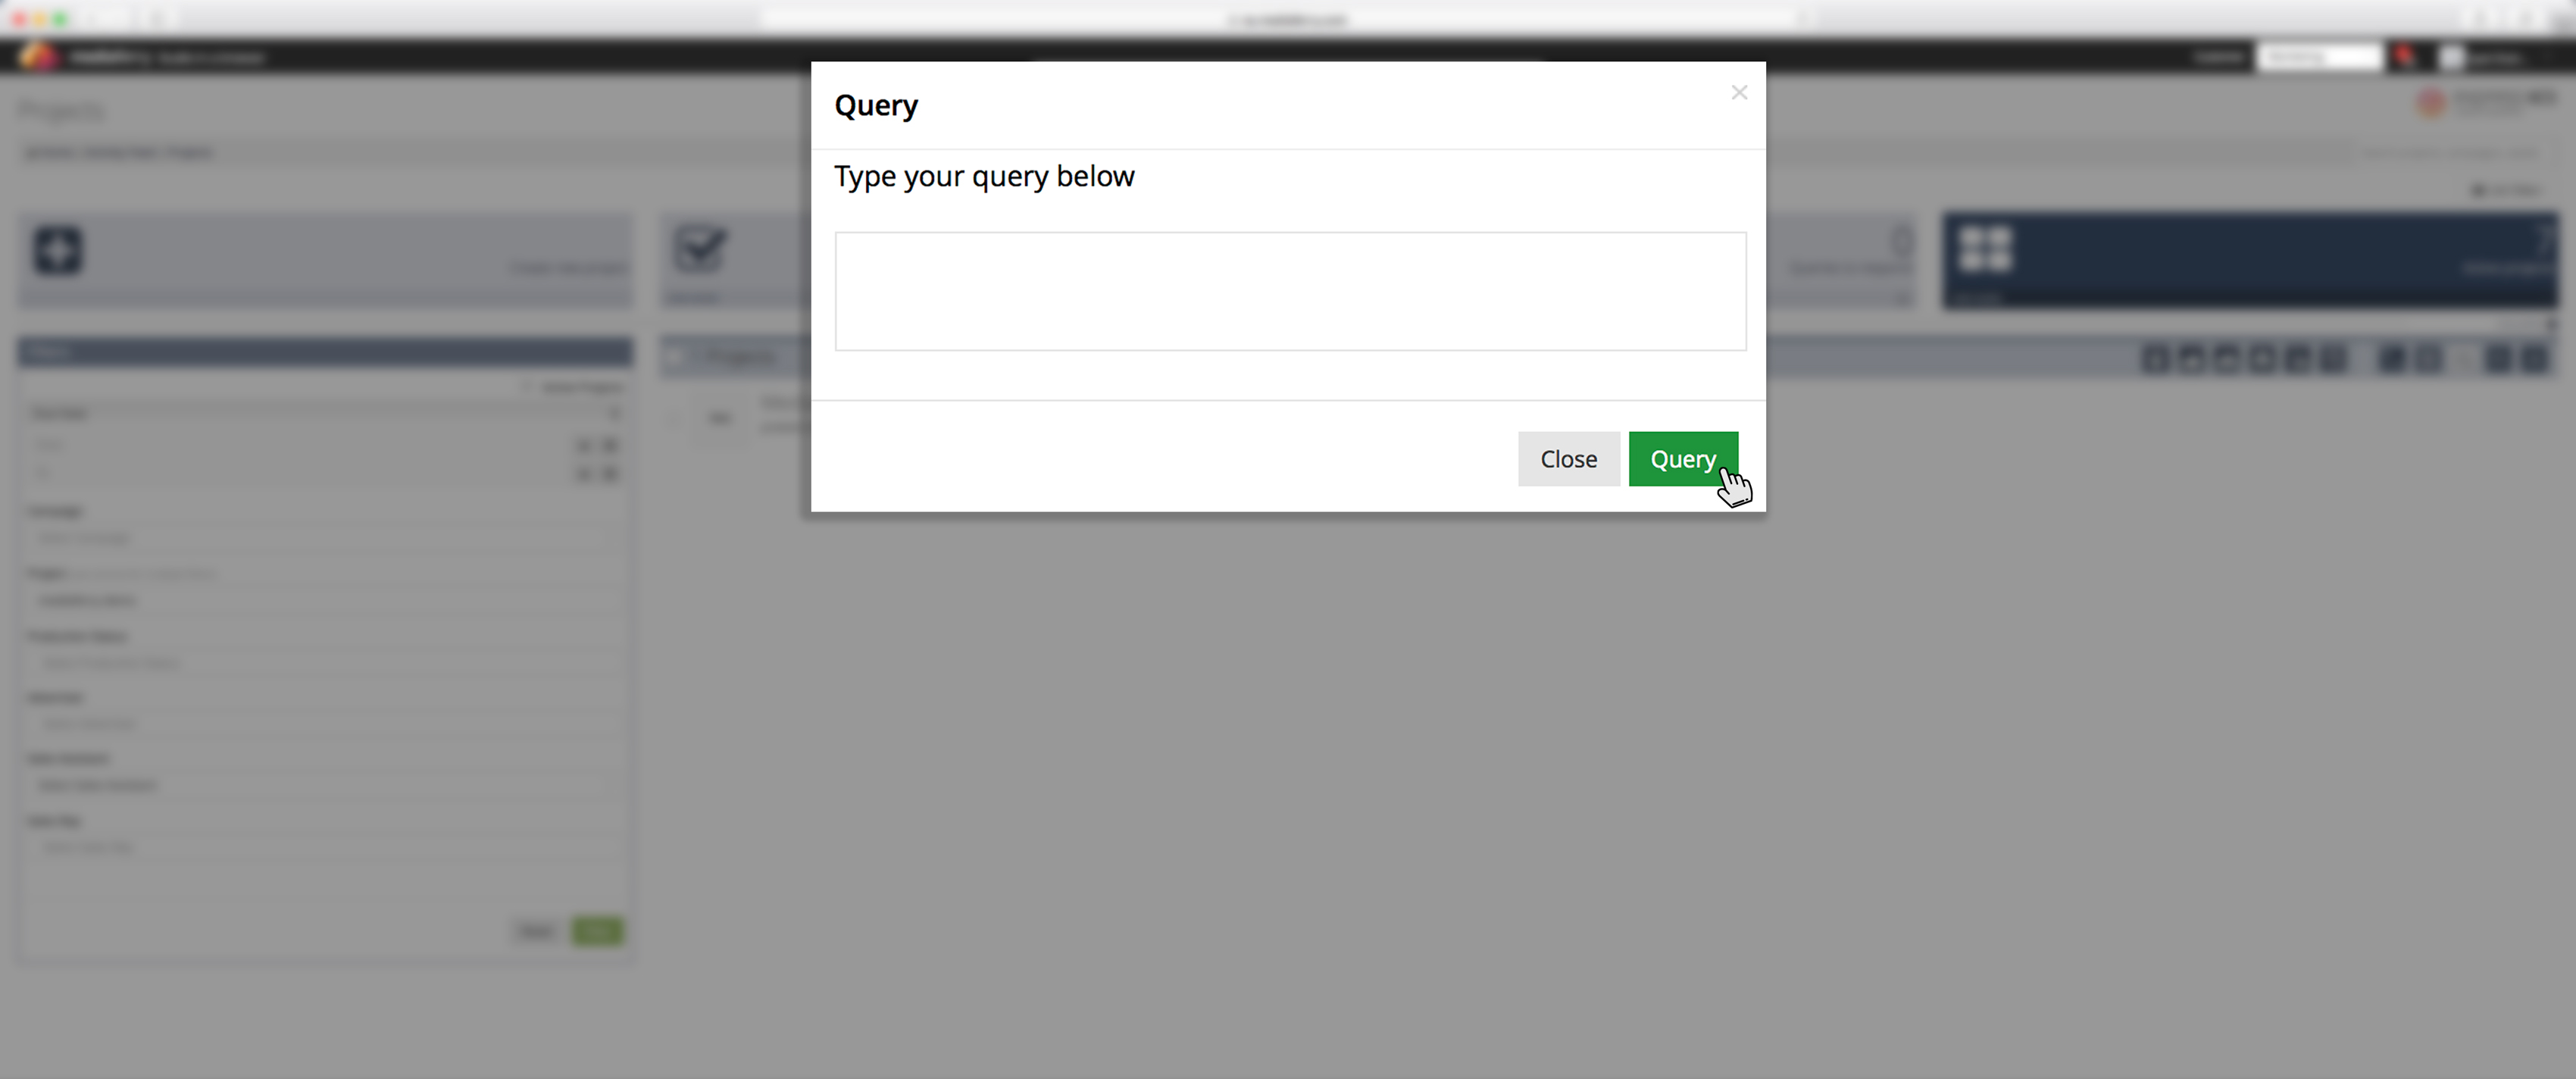
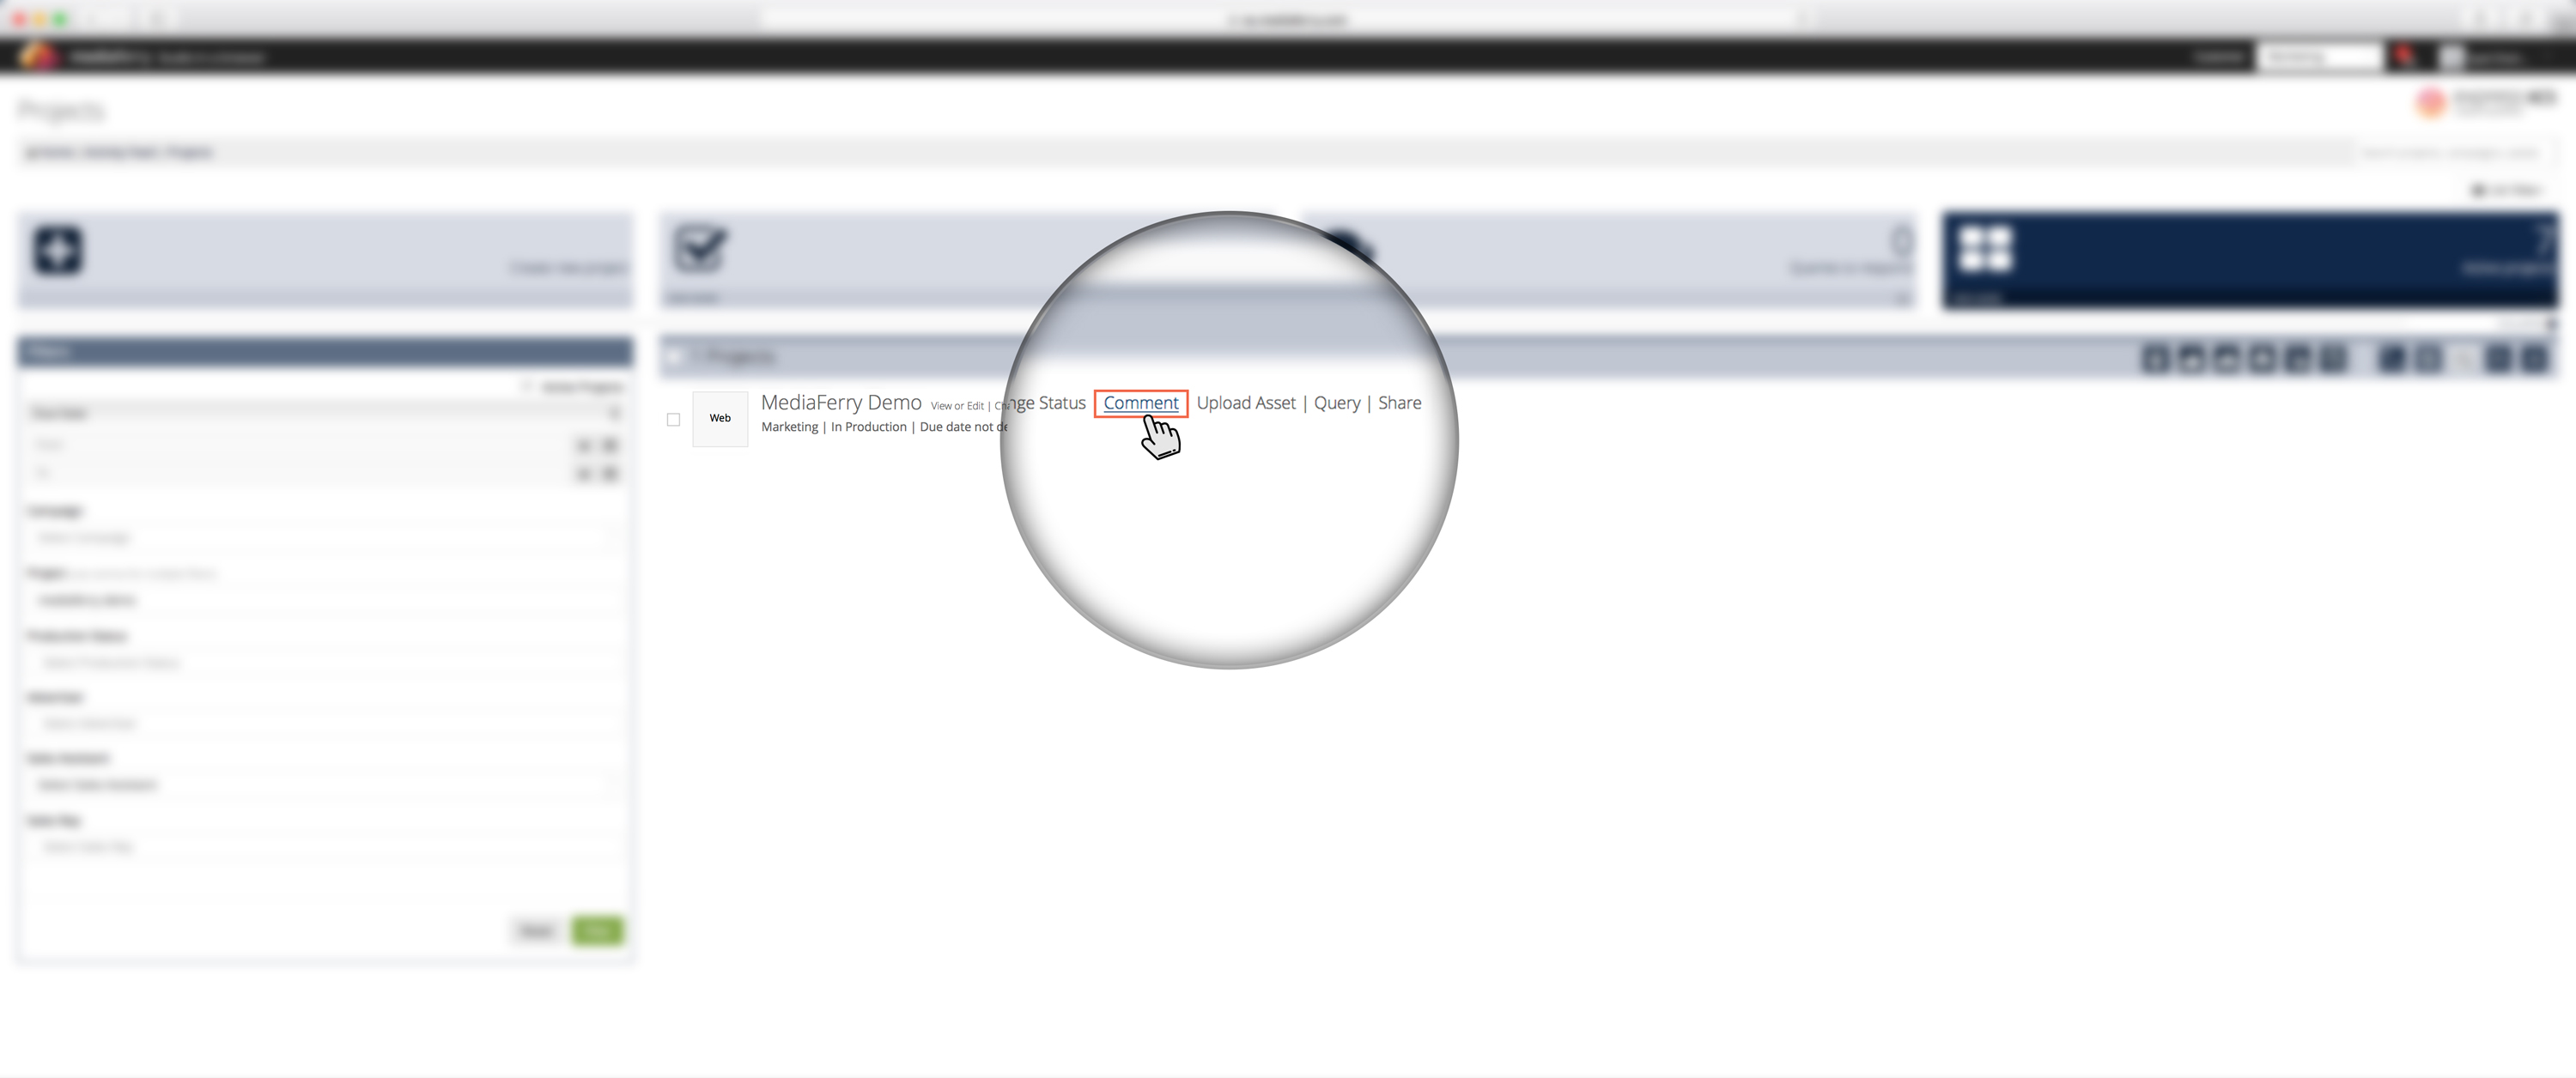
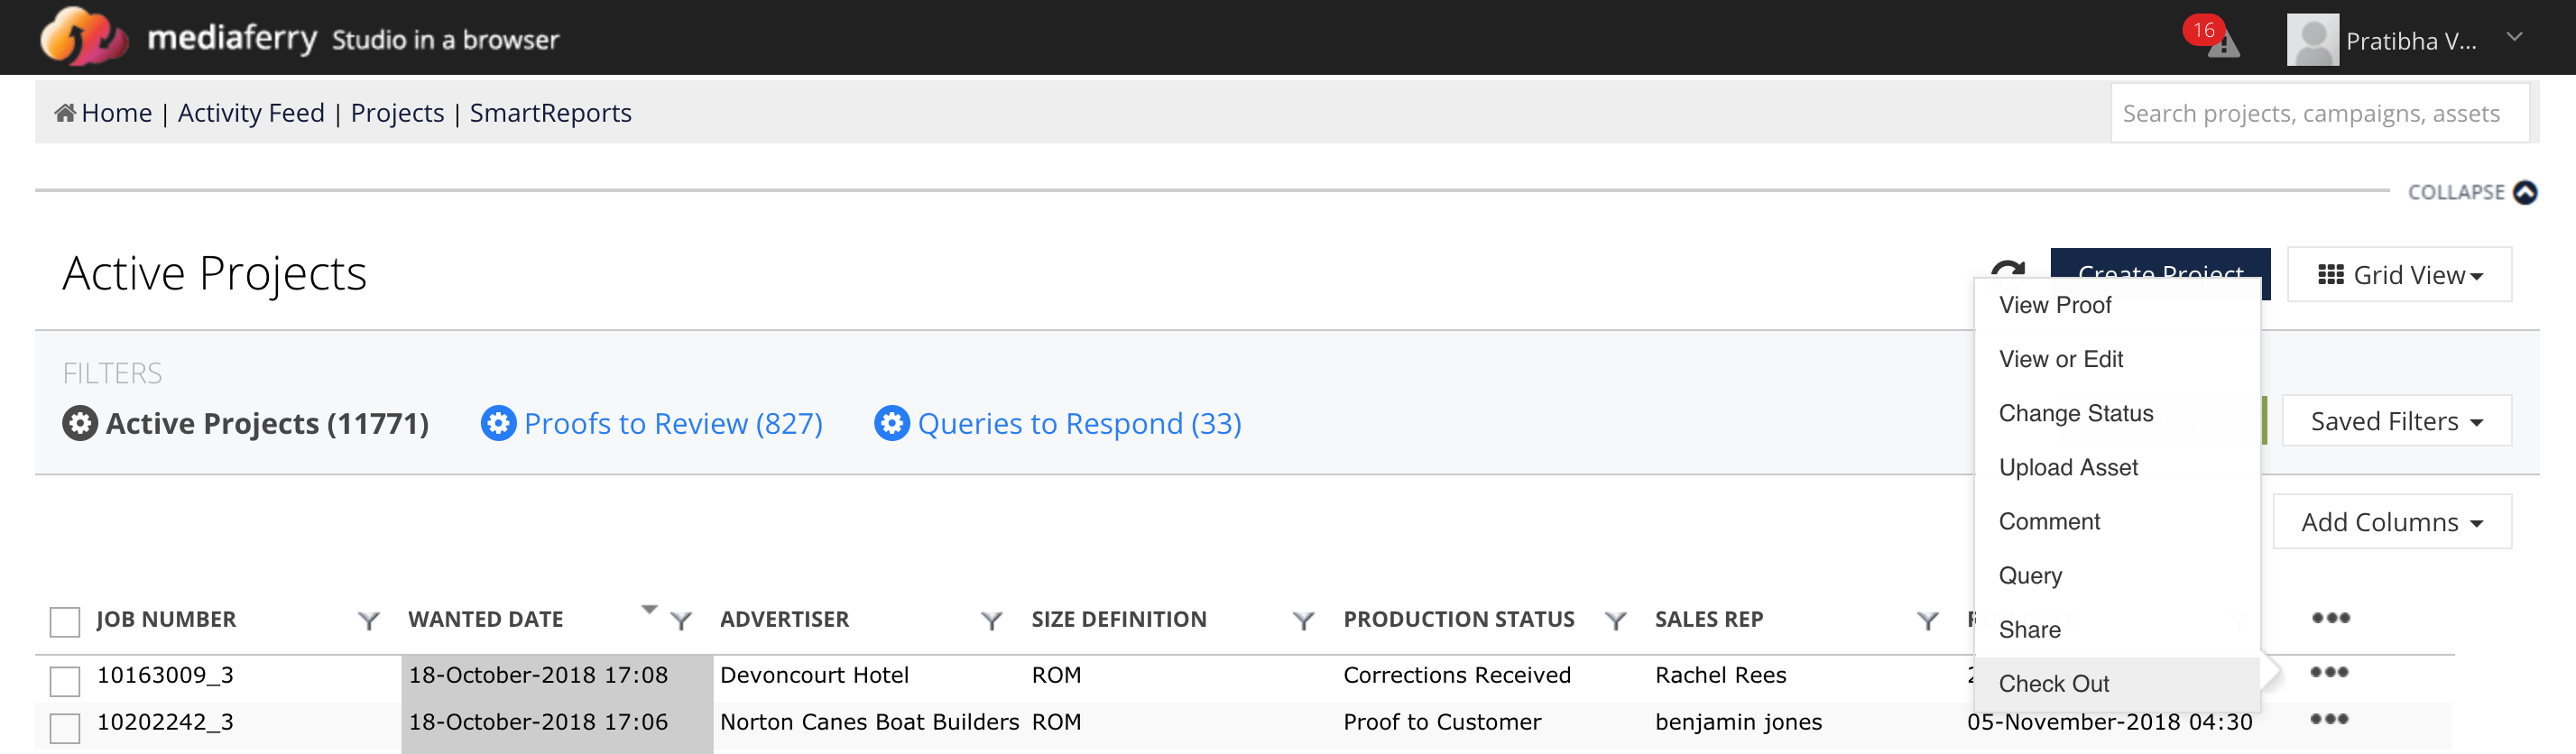
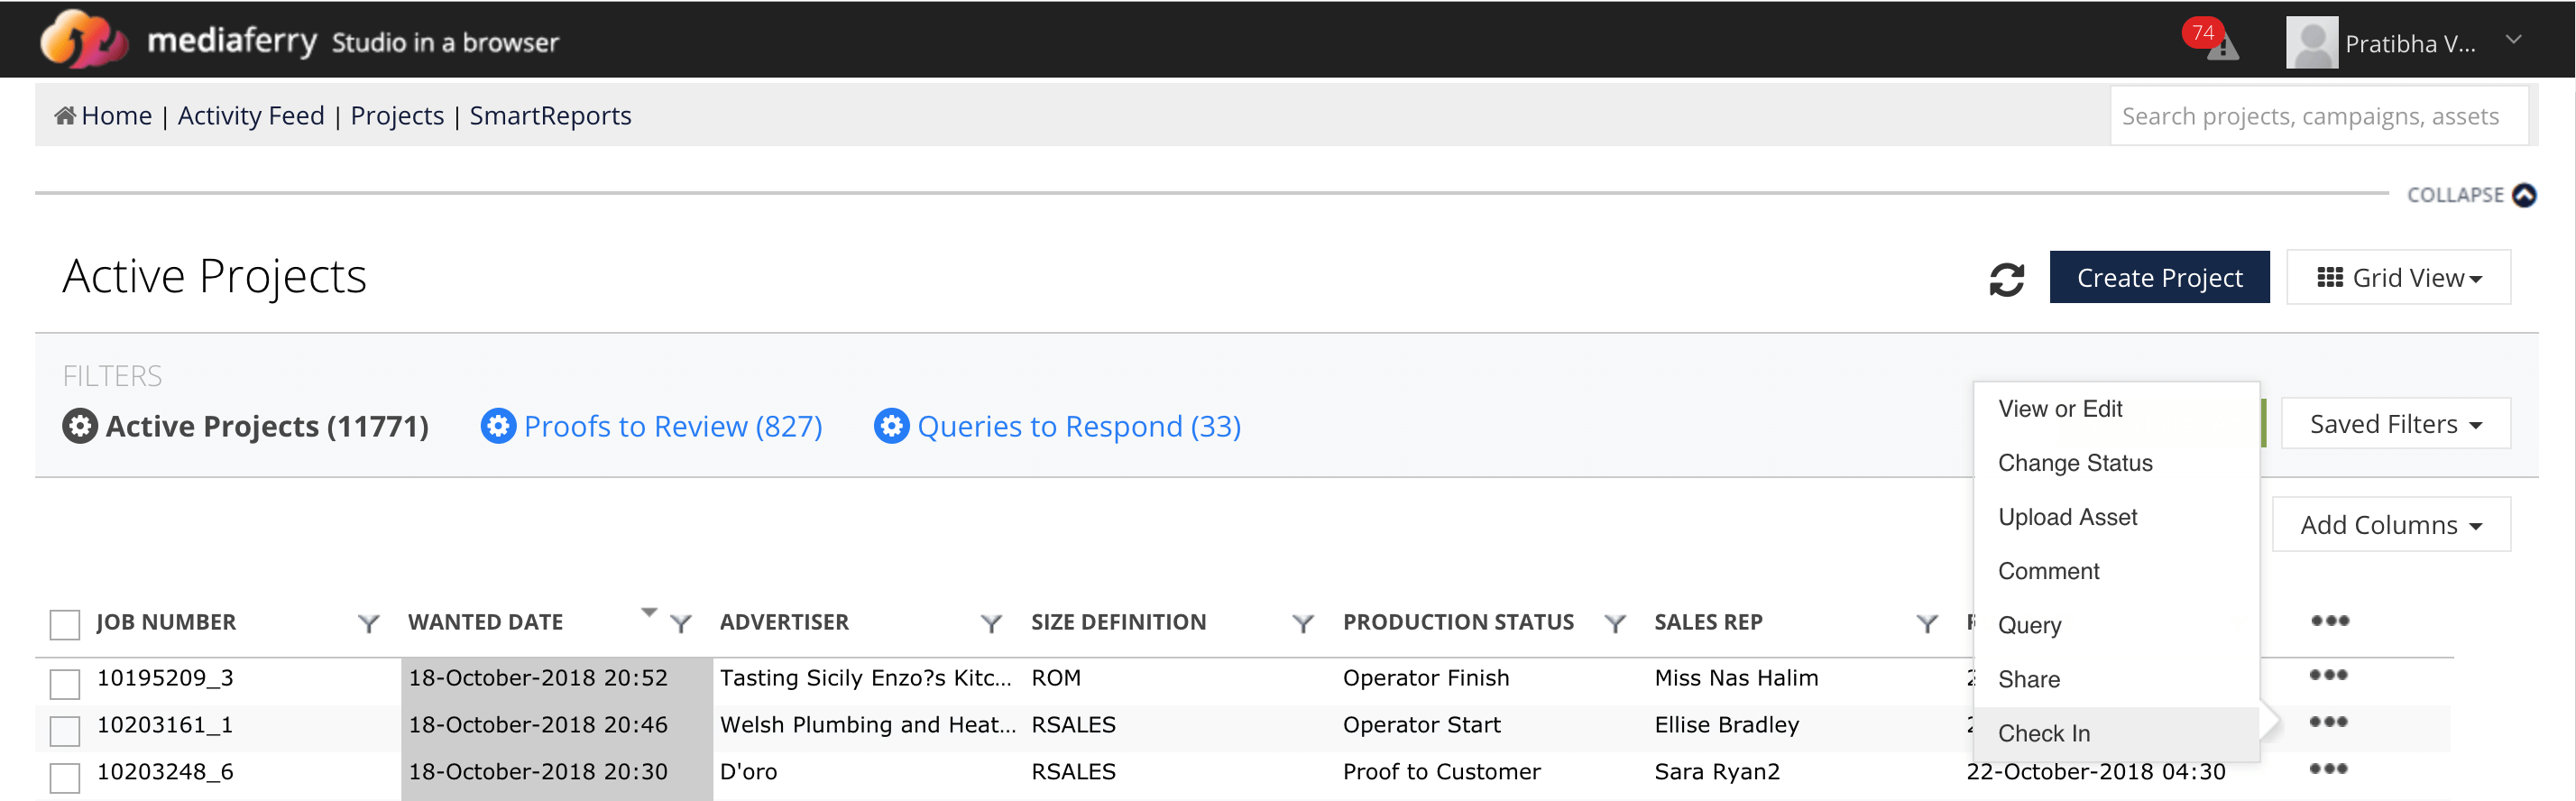
In case you want to respond a query, you can respond by just clicking on respond to the query text OR by visiting QUERIES TO RESPOND tab on the MediaFerry Menu Page.

How to check-out and check-in a print project in MediaFerry?

Note: This tutorial will explain check-out and check-in process in MediaFerry Grid View. If you want to know this would work in List View, please let your account manager know.

Check-out a project using MediaFerry to start production

  1. Select your ad and then click on 3 dots (ellipse). A pop-up window will appear, click on Check-out option.
  2. Once you click on “Check-out” button, a new pop-up window will open showing notification about "SmartConnect" app. If you have already installed the app, it will auto initiate the check-out. Otherwise, MediaFerry will automatically download and install the app in your system and check-out will start.
  3. The project will be checked out and the artwork will open in Adobe InDesign with size dimensions mentioned in your project brief form.

Check-in a print project using MediaFerry once production has been completed

  1. Once your creative production is complete and the artwork is ready to be uploaded into MediaFerry. Then go back to MediaFerry window, select your ad and then click on 3 dots. A pop-up window will appear, click on Check-in option.
  2. Once you click on “Check-in” button, a new pop-up window will open showing progress. Once completed, the project status in MediaFerry will change to Operator Finish.
  3. Now, go back to MediaFerry window, select your ad and then click on 3 dots (ellipse). A pop-up window will appear, click on "Route" option.
  4. A pop-up will appear providing routing options to you. Select "Complete" from the drop down menu.
  5. Completing a project will start preflight process of the project. Once the preflight is over, the project status will change to "Ready For Proof" and proof notification email with proofing link will be sent to project owner and other stakeholders.

How to use timesheets in MediaFerry?

Time tracking has become a lot easier! Now accurately manage daily feed of timesheet entries by logging the time spent on each project via MediaFerry.

  1. Select the View or Edit button of the MediaFerry project for which you need to track the time spent on. TimeSheet
  2. The project view/edit page will open. Go to the Time Sheet field highlighted next to the Activity Feed. On click, the Time Sheet builder form will open. TimeSheet
  3. As soon as the builder form will appear, the Project Name/No will be displayed on the first field. Select the Task Date (project creation date) and Sub Task from the drop-down list. TimeSheet
  4. Enter the Time Spent on the project in minutes. In case you want to make remarks, fill the Description box and click Add Task. TimeSheet
  5. According to the detail logged, the total time spent on the project will get enabled on the right-hand side of the dashboard. TimeSheet

How to archive a project in MediaFerry?

  1. From MediaFerry menu page, go to active projects at the top right. Once the list of Active Projects open, filter the project you want to archive from the active project list.
  2. As soon as the filtered project appears, click Change Status button.
  3. Select Archive from the drop-down list and Click Save to get it saved. Your project will move from active project list to archive project list.

Need more help on Project Management?

Please fill out the form below for additional support regarding this training module.

(Fields marked with * are mandatory.)