Sticky note:- Lets you add a sticky note comment anywhere in the frame, just drag it and mark your comment.
Square selection and comment tool:- Highlight a section using the square selection tool and mark your comment.
Find document tool:- Find specific word on the proof through this tool.
Disable hand tool:- Use this tool to push the page around the window, by dragging the proof with your mouse.
Document properties button:- View the properties of the uploaded file i.e. name, size etc.
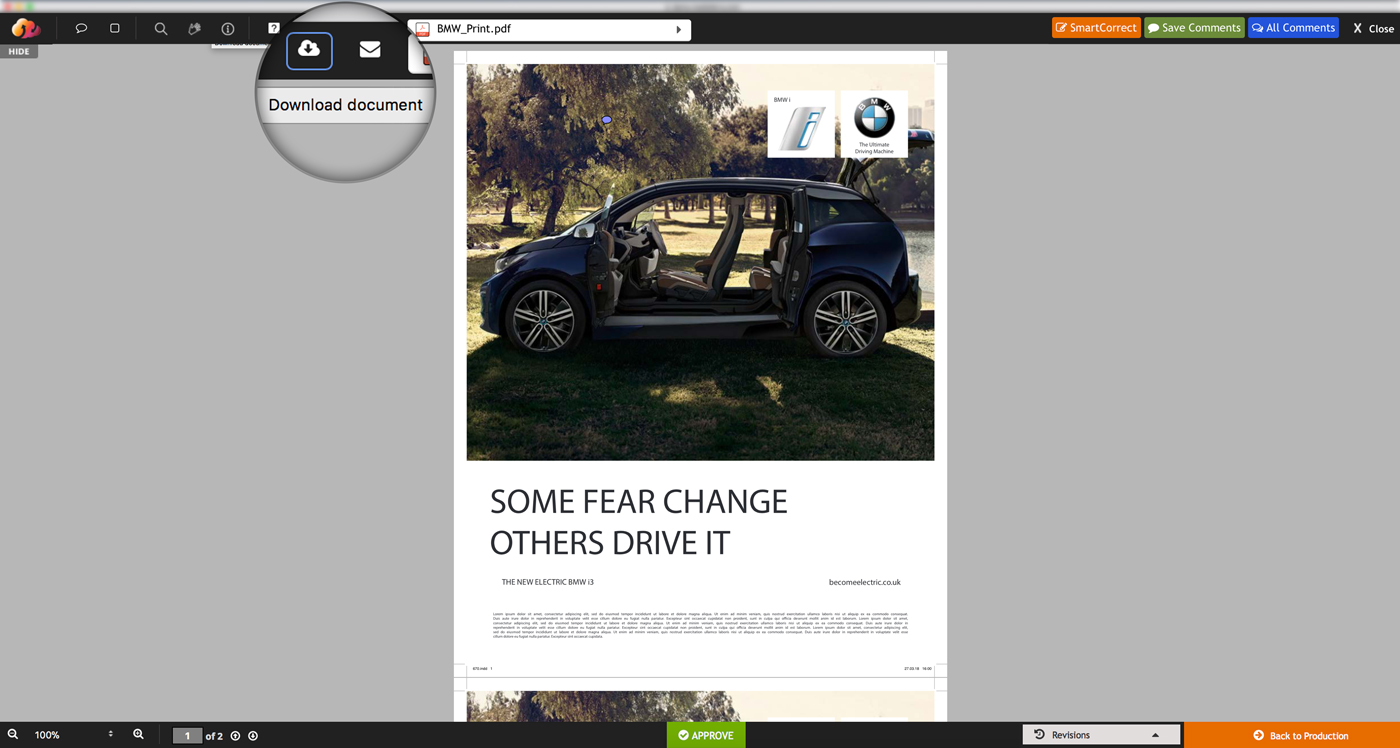
Download document button:- Download the uploaded file from the proofing screen via download document button.
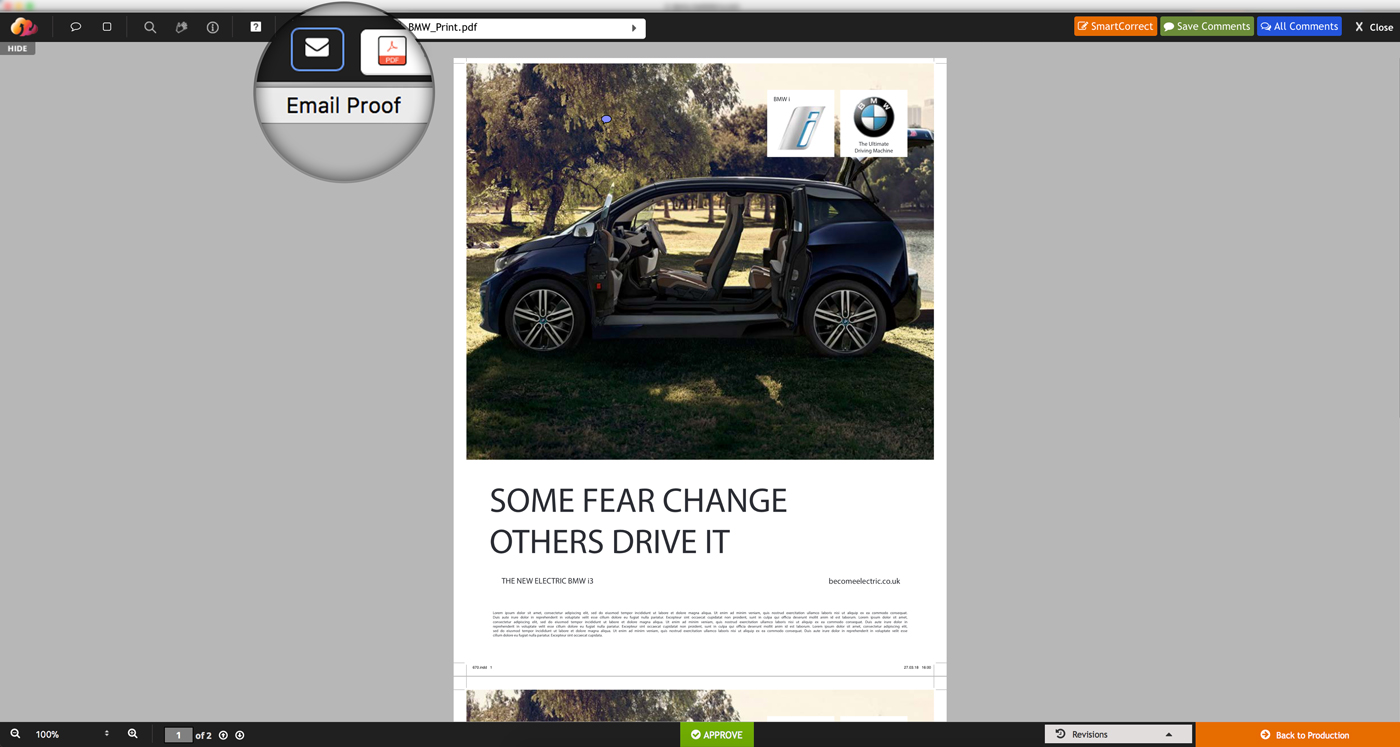
Email proof button:- Share proof with someone using their email address or you can also copy the proof link from here.
File browser:- If there are multiple files in a single proof, you can browse all those files using the file browser.
SmartCorrect:- Make correction through SmartCorrect in your proof document.
Save Comments:- Mediaferry automatically saves all your comment, but just in case required, this button will manually
save the comments you’ve marked.
All Comments:- Click this button to see all the previous comments on the proof.
Close:- This button will close the proofing window.
Bottom Panel (right to left)
Back to Production button:- If you’ve marked comments/annotations/changes to the file and want your studio to rework
on the project, then save all your comments and click on this button to send the project back to production. This will send an email notification
to all the stakeholders that you’ve sent changes on this proof and will also update project status to “Amends” in Mediaferry.
Revisions:- If there are multiple revisions of the same file, then you can check all past-revisions using the
revision browser. Mediaferry has its own version control system so the latest proof will be the highest version. I.e. v1 is first proof and
v4 is the latest proof.
Approve:- If you’re happy with the proof and are ready to proceed ahead. Click on approve button. This will send email
notifications to all project stakeholders that you’ve approved the project and the file is ready for further processing. And it will set
the project status to “Approved” in Mediaferry.
Proof print, digital and video
Proof for Print
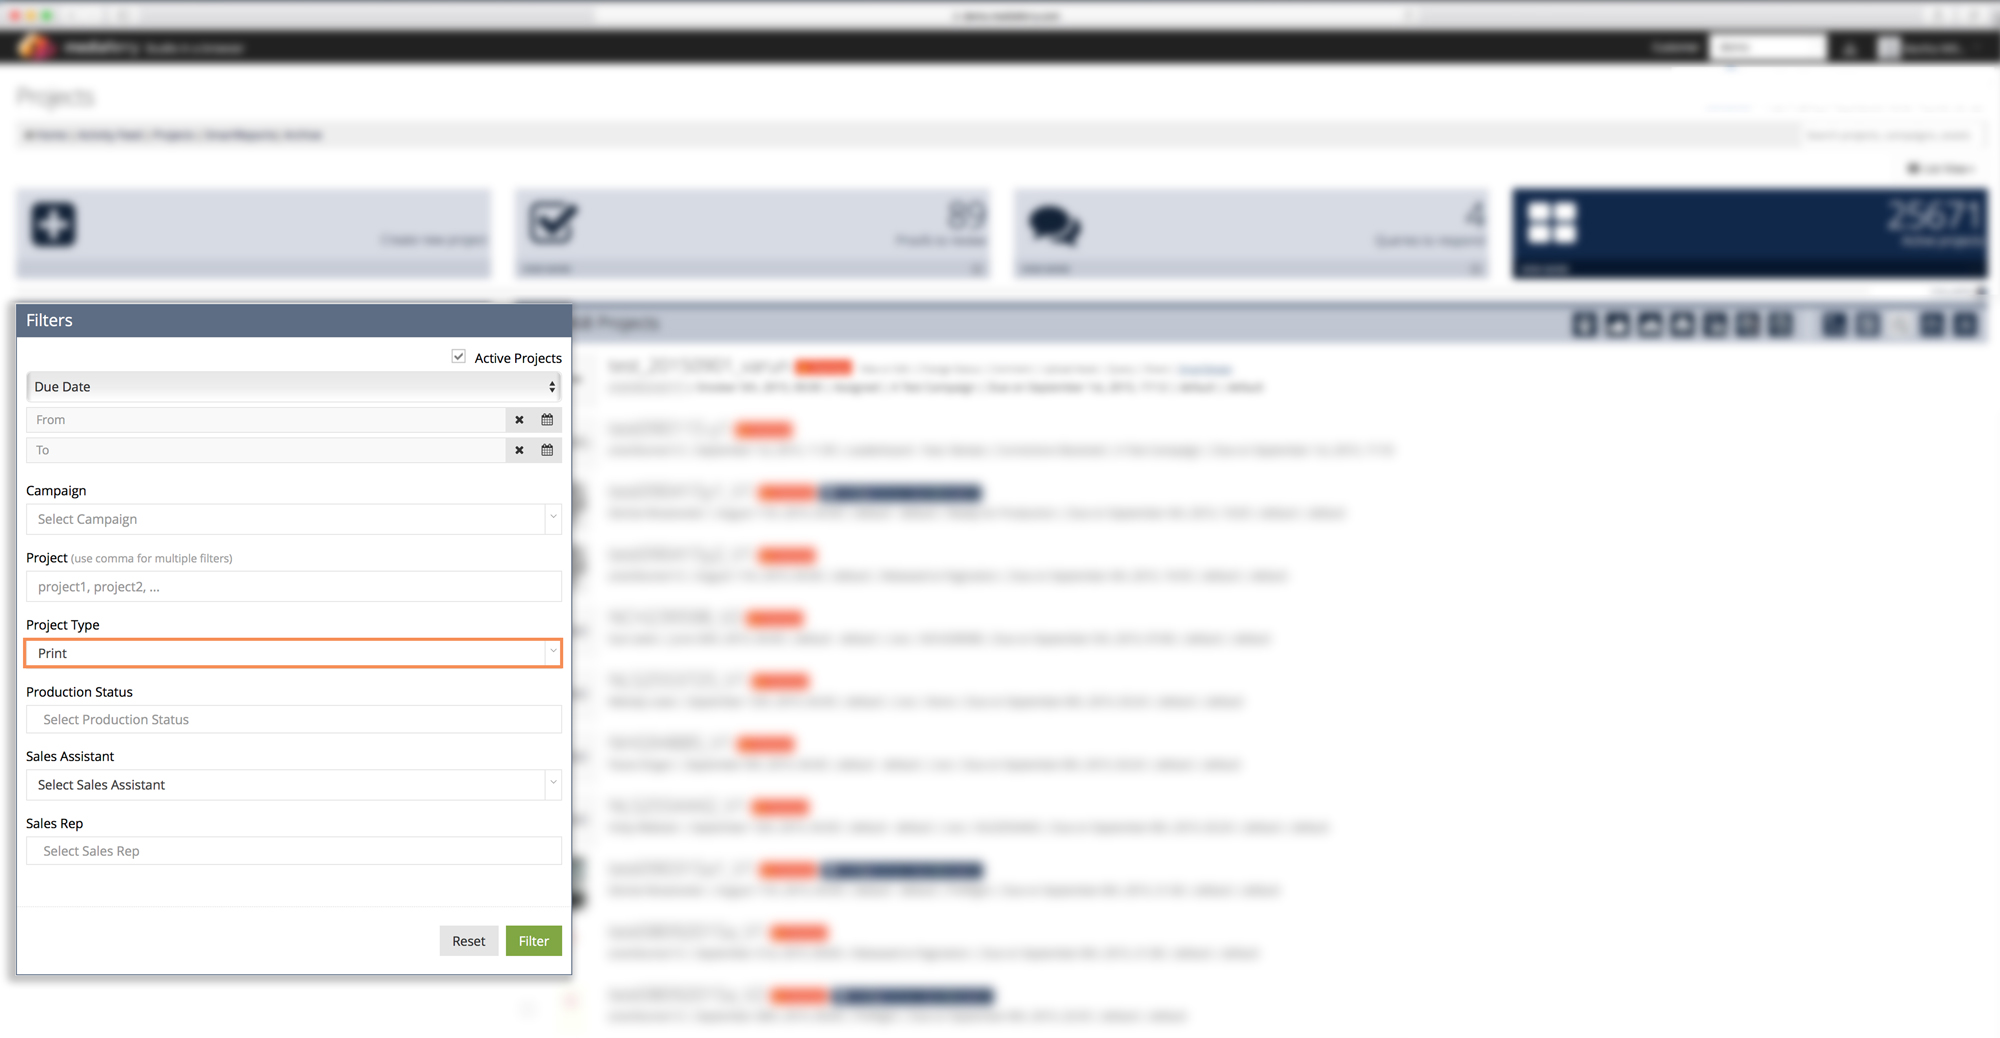
Go to Proof to Review tab and filter the Project Type category as Print.
Print projects with ready for proofing status will appear. Click Proof button highlighted below the project name
to open proof in proofing window.
On click, the proof will open in a new window.
Note: In order to proof print artworks your browser/system must support Adobe Flash.
Proof for Digital
Open the list of projects ready for proofing and filter the project you are looking to proof, remember to mark
Digital in the Project Type category while filtering the project.
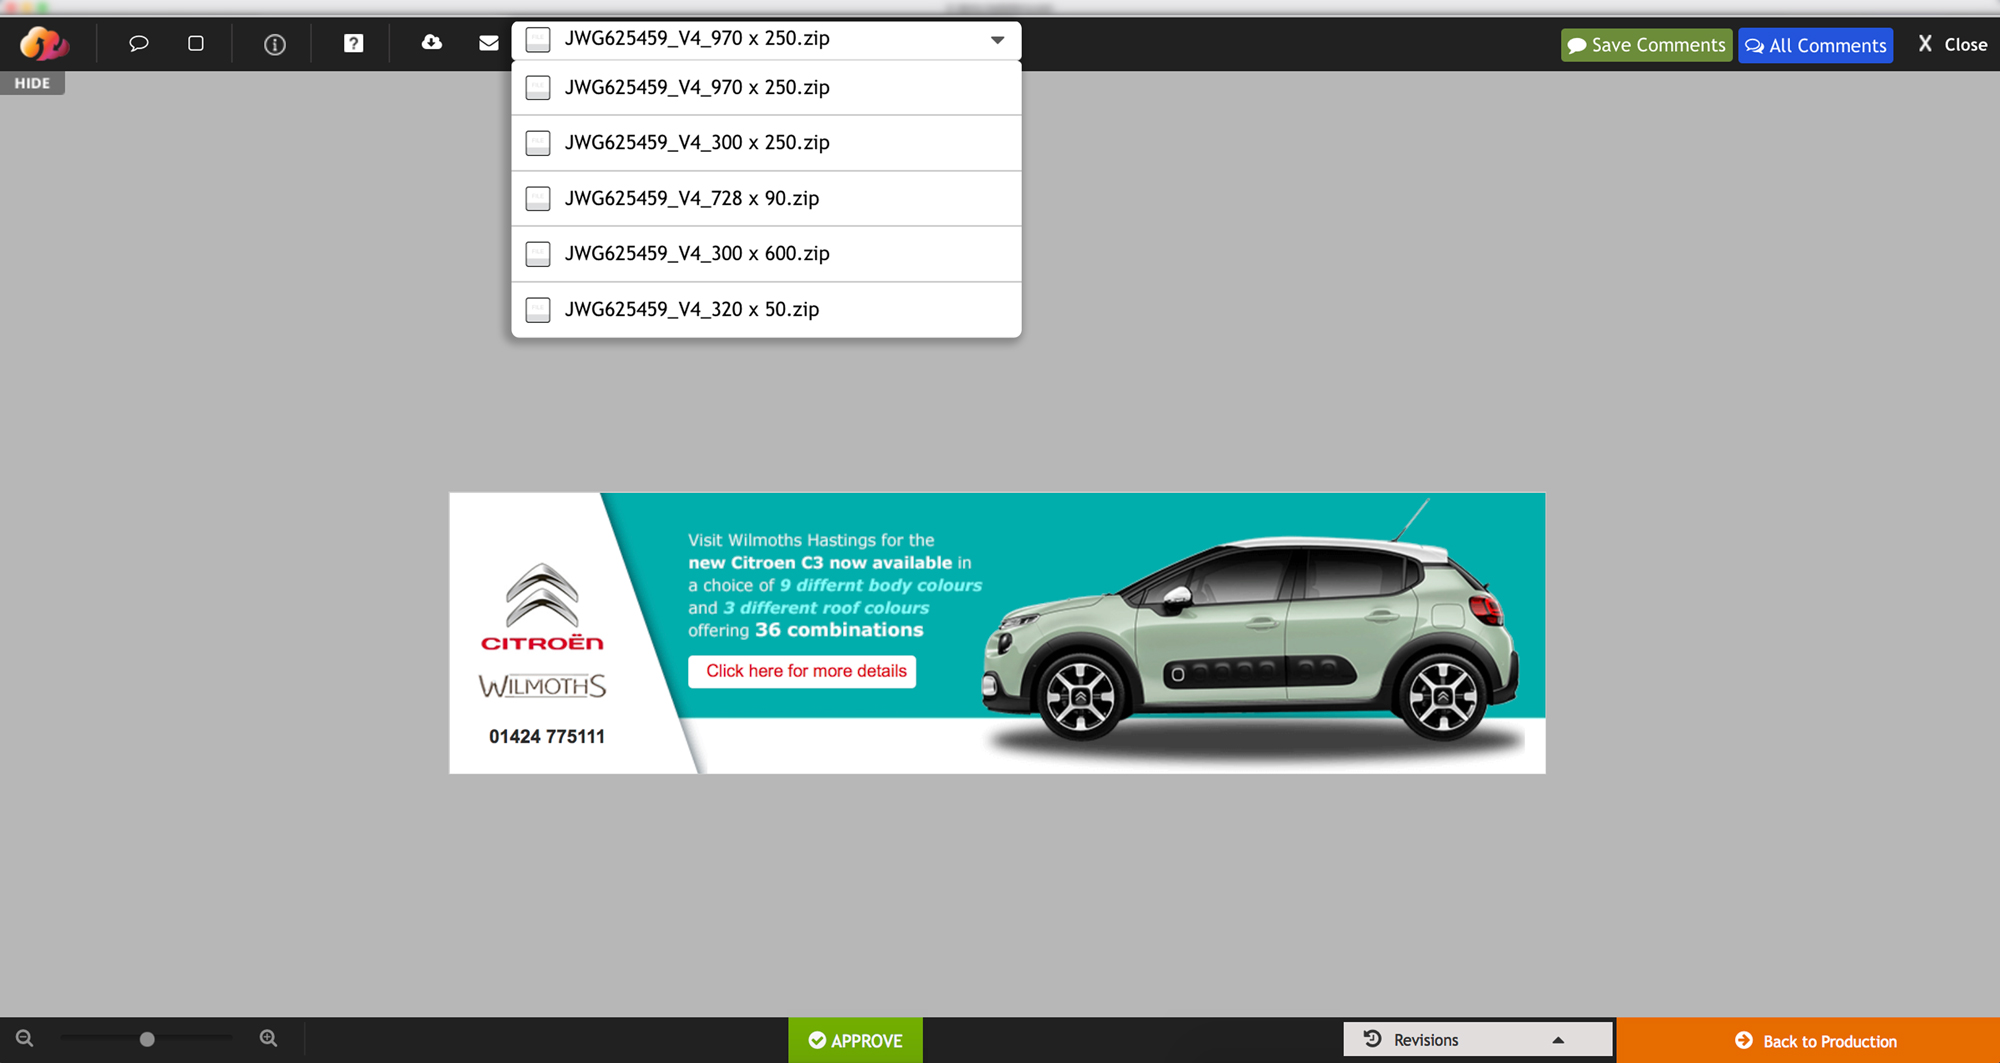
As soon as the list of Digital projects ready for proofing will appear. Select the project that needs to proof and click Proof
button. The proof will open in a new browser with all the different sizes of the artwork, if artwork is created in different sizes. In case you want
to make changes in different sizes than just click on the size and make the changes otherwise just click on the zip version to make common changes.
Make your required action and click save.
Proof for Video
Proof your video artwork hassle-free with Mediaferry SmartProof. To get started, select the Video project and click on
Proof button.
Video file will open in MP4 format in new browser. Proof the video file by slide by slide.
Share or download proof
How to share proof?
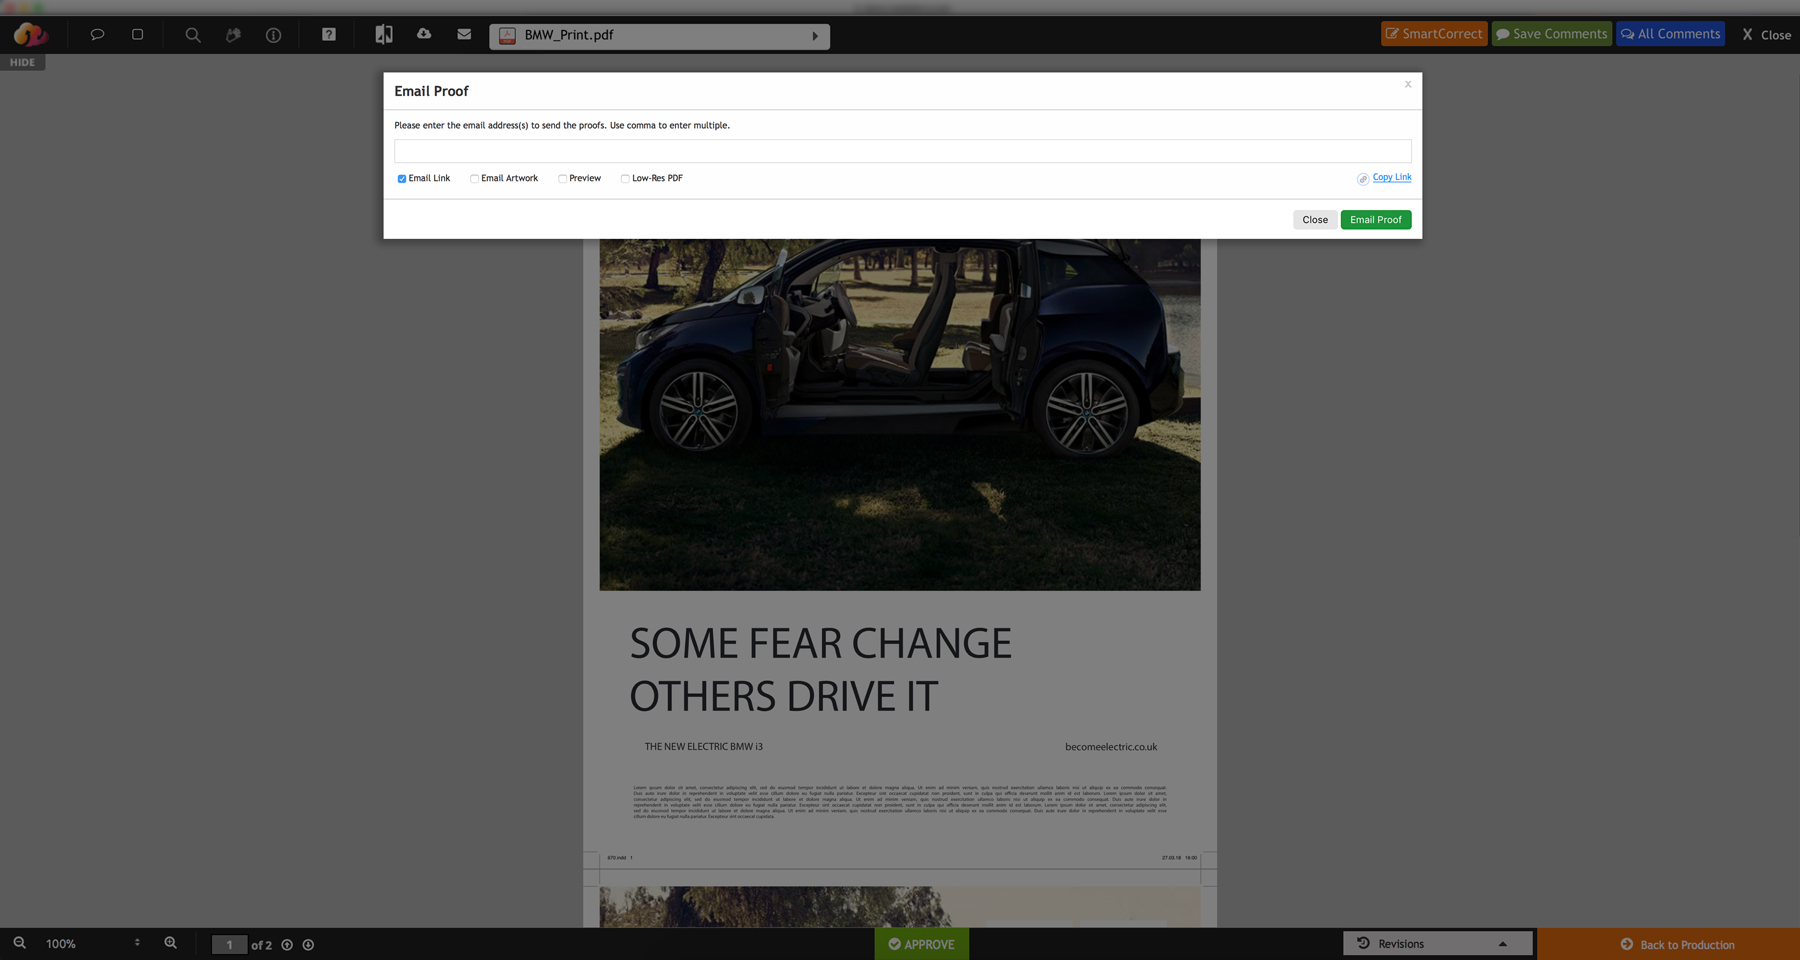
You can share Mediaferry proof with anyone, anywhere in no time. To share proof click on the Email Proof icon.
On click, a pop-up with open asking email address/addresses you want to share proof with. Enter the email address/addresses and click
Email Proof. The proof will get shared with the entered email id's via EDM. In case you want to copy the proof link, copy by clicking
on the “Copy Link” written in blue text.
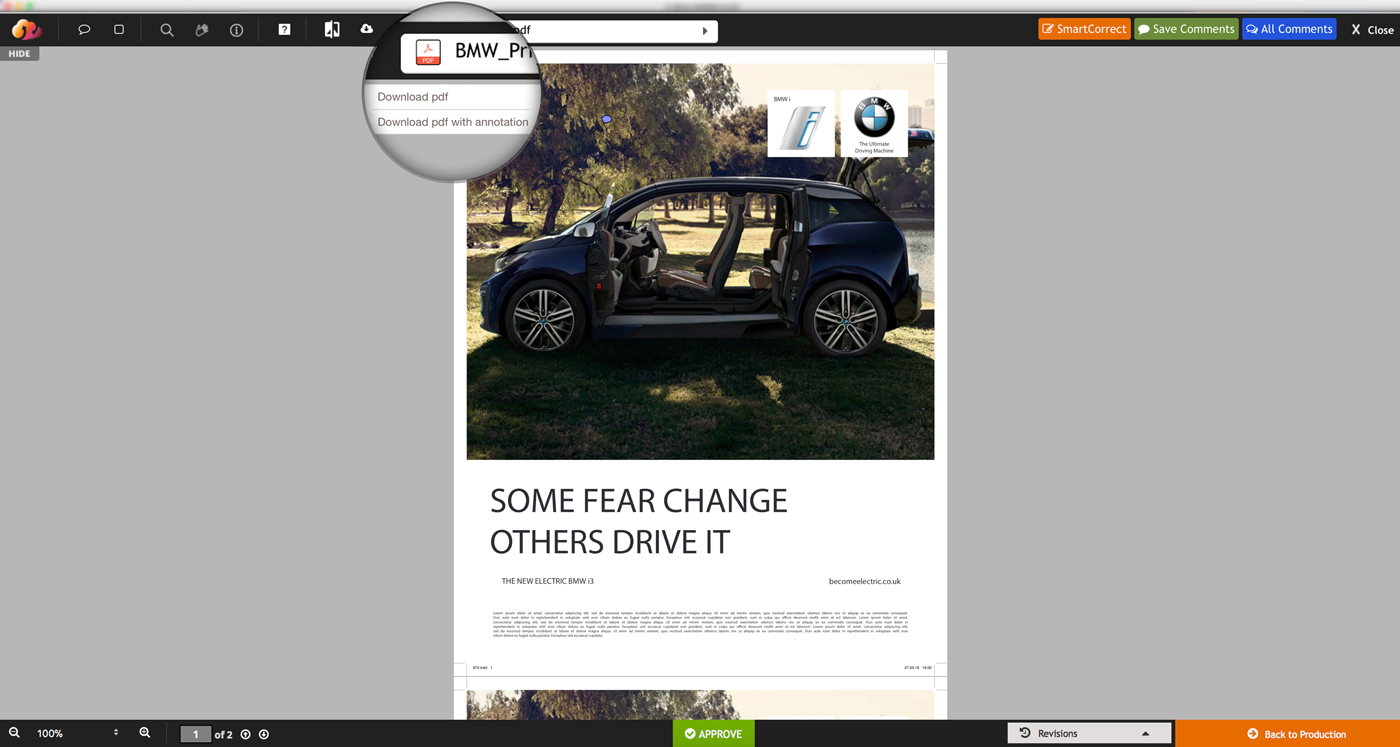
How to download proof?
Once you have opened the proof in the proofing window. You can download the proof by clicking on the Download Document icon.
On click, it will ask you the format in which you need to download the document. Click on your preferred format to download the proof.
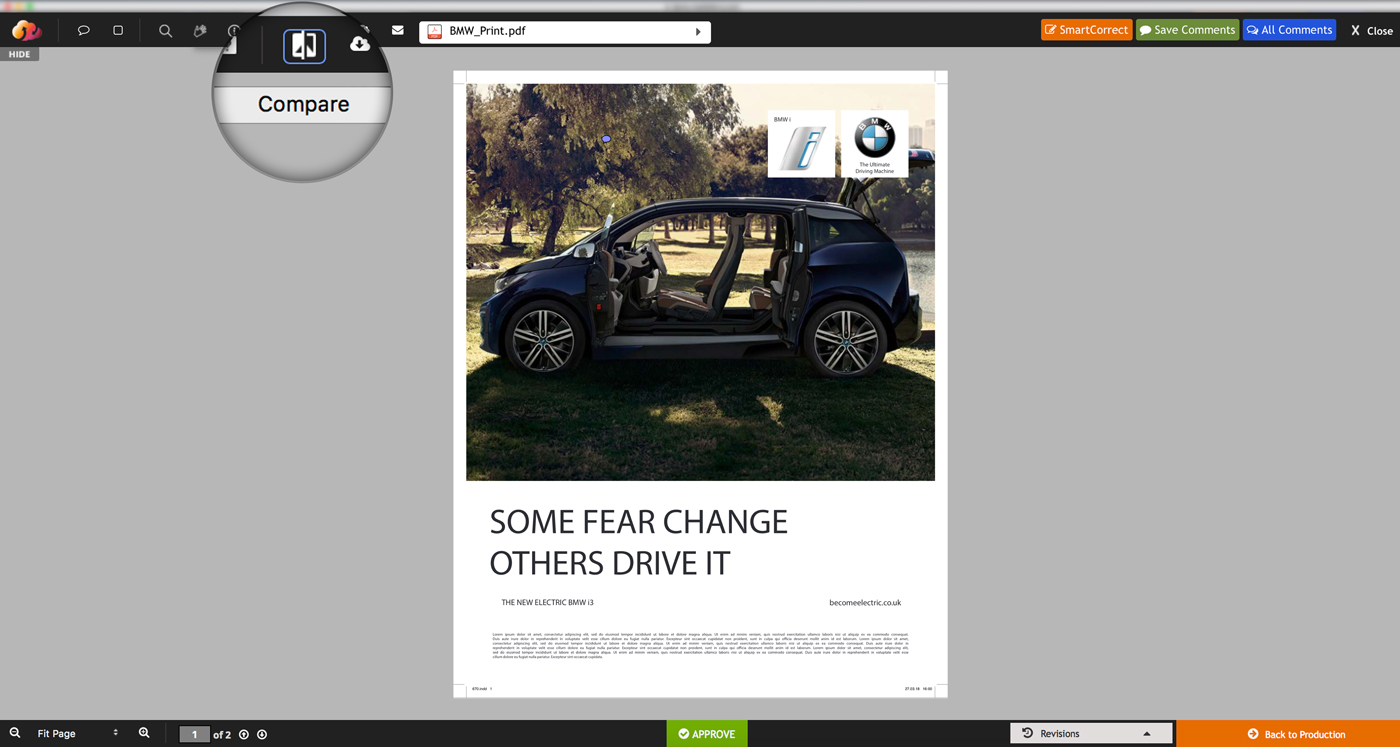
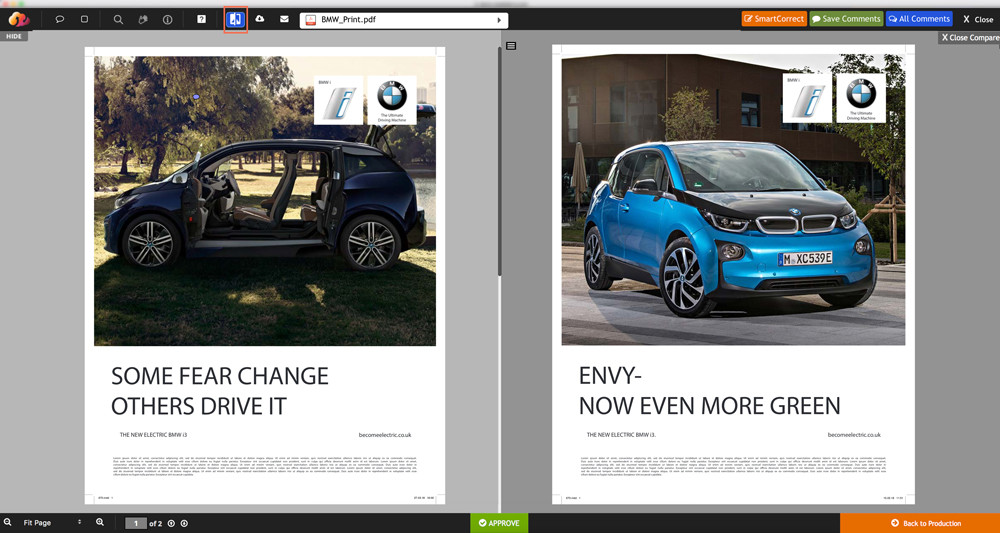
How to compare proofs with prior versions?
In order to compare proof with its prior version, you need to click on the Compare icon.
On click, you can see the proof with its prior version/versions in a single frame.
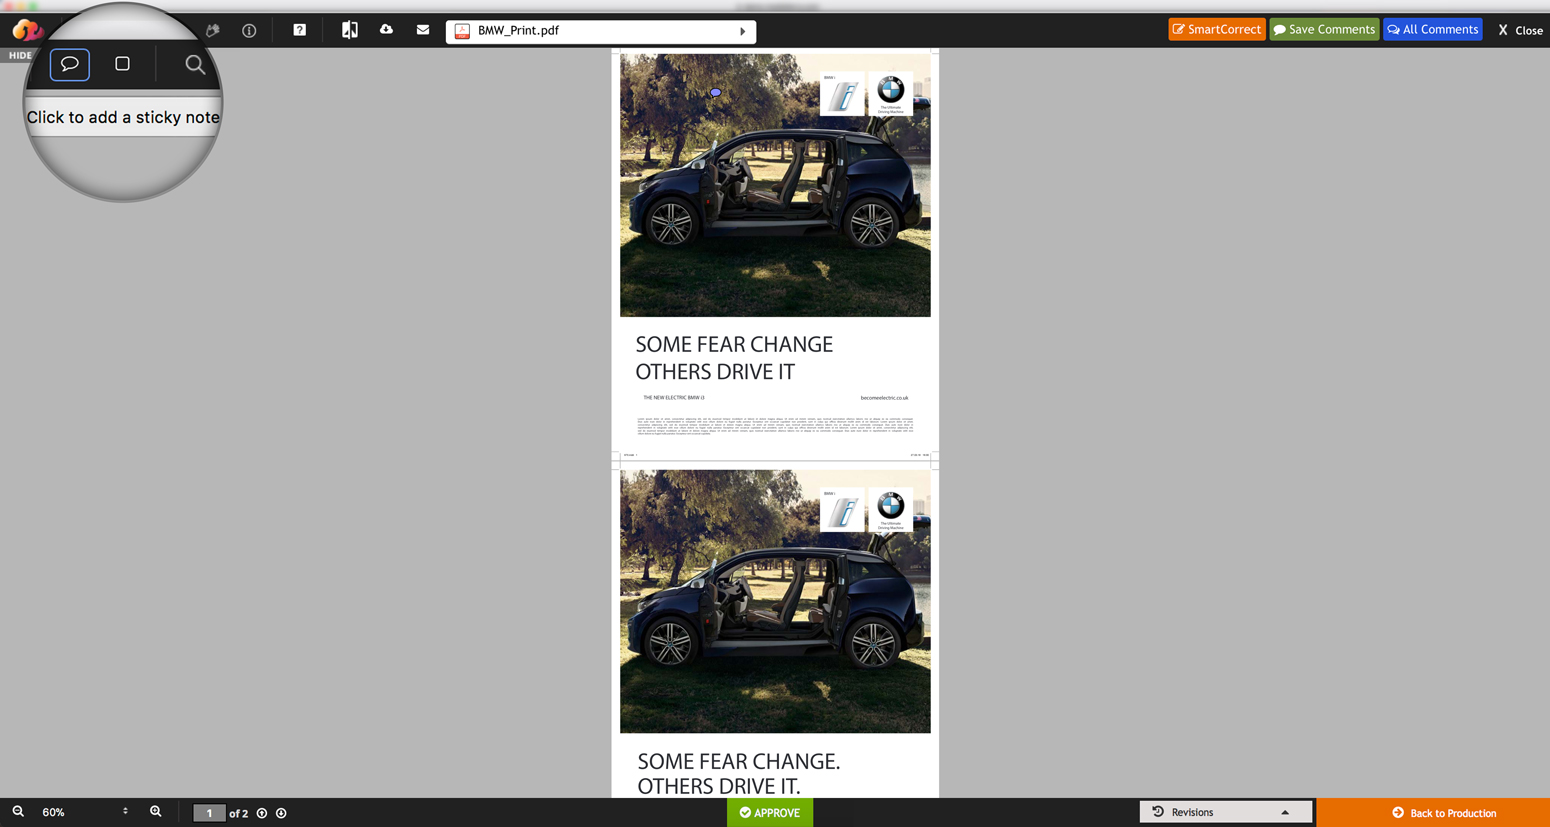
How to submit changes on proof?
To submit any changes on proof, select Sticky Notes icon on the top right.
On click you can see a plus (+) icon, move it towards the section where you need to submit the changes and give a right click. A
sticky note box will open, enter your comment/query in that box.
Comment automatically gets saved in Mediaferry, but in case, you can also manually save the comments by clicking on Save
Comments button at the top left of the screen.
How to approve proof?
Open the proof by just clicking on the Proof button.
On click, the proof will open in proofing window. Examine the proof, in case you are satisfied with the proof then approve it by just a click
on Approve button highlighted in bright green color in the middle bottom of the screen.
Need more help on Proof Review & Approval?
Please fill out the form below for additional support regarding this training module.